I love to try to sew on different kinds of surfaces. Today I got the urge to try rice paper. I remembered that I had some laying around in a drawer so I pulled that out.
Lately, for some strange reason, birds have been smashing into our windows. I turned to my son one morning and said, “Is it just me or have you heard about five birds just smash into our windows in the last hour?” and he heard it too so I guess I’m not crazy. What I’m getting to is that from this, an idea was born; embroidered rice paper sun catchers!
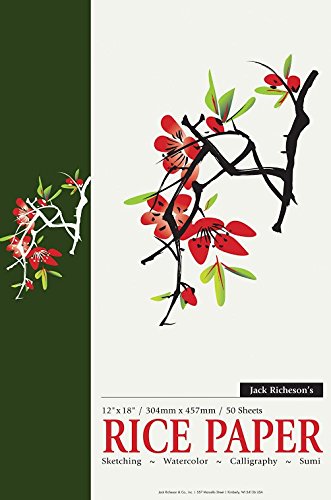
Above is exactly the pad I have. It can also hold watercolor which I would like to try as well. I’m not sure what I bought it for such a long time ago but this is precisely the reason I never throw out art supplies. They have a way of coming back around.
For this project I used one sheet of the rice paper (It is 12 X 18 so you can make a bunch with just one sheet.) I also had some small chip board frames. Mine came in different shapes with different openings but were a perfect fit for 1-3 inch size embroidery designs. Below is a similar kind you can find online.
The next thing I used was some peel and stick stabilizer. This gave the rice paper some stability and it also helped to hold the stitches without cinching the paper.
Before I applied my rice paper to the stabilizer I wanted to first take advantage of the extra transparency of the rice paper and traced my design.
I found some small designs and put my frames over the top to see if they fit. These butterflies are from my LOVESTITCHERY shop HERE. They were the perfect size.
I traced very lightly in pencil around the frame so I could cut out the paper to match the frame. I tried to cut it inside the lines I made to avoid overhang.
I made a few different shapes and sizes.
The cherries as from my CHERRY PICKIN design HERE.
The tulip is a freebie which you can print HERE.
I completed the cherries using BACKSTITCH and LONG AND SHORT STITCH and the tulip using LAZY DAISY, BACKSTITCH, FRENCH KNOTS, and SATIN STITCH.
I also wanted to mention that my paper crinkled a bit from all the handling and I very gently ironed the paper on a low heat and it worked like a charm! You just have to be very careful not to burn the paper.
It is hard to capture a photo of these but they are very pretty and delicate with the light beaming through the rice paper. So much fun and once you have all your supplies together this is a really simple fall afternoon project!
I kept on experimenting a little and here are the results:
First, I tried sewing without the stabilizer backing.
It is definitely do-able to sew directly on the rice paper but it does tend to pull on the paper quite a bit so it did not lie as flat. The extra transparency was pretty though.
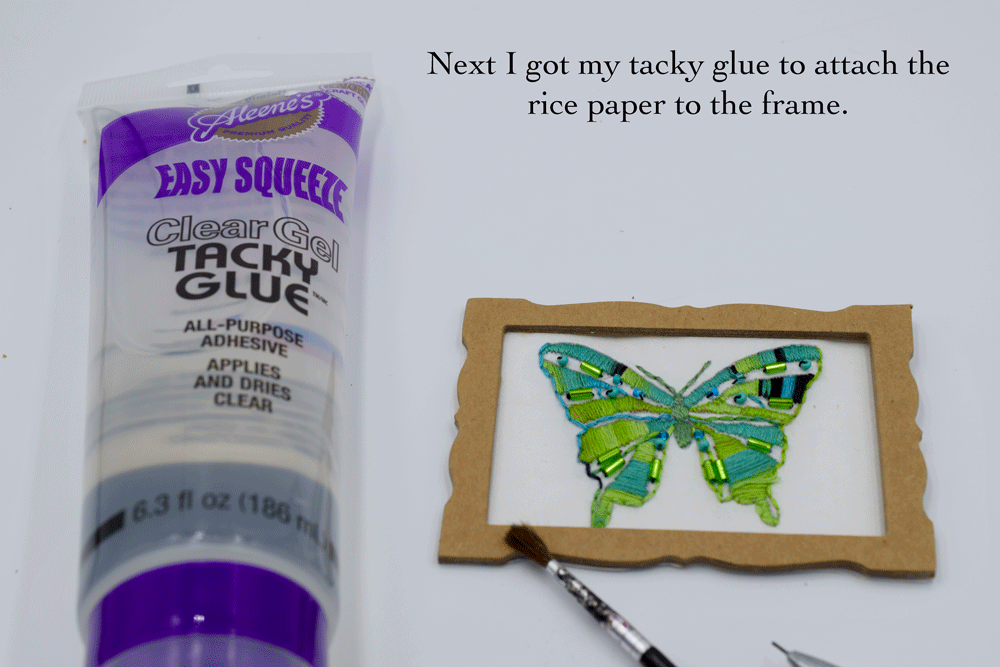
I was able to use glue to stretch and flatten the paper to the frame.
Next, I wanted to see how the rice paper would take watercolor.
I really loved the vibrancy of the pigments on the rice paper. It does bleed around the edged quite a bit but I loved the interest that added to the piece.
Isn’t that pretty up against the light?
I glued the paper onto the back of the hoop then applied another piece of rice paper on top of that.
Even on a gray day the light shines through nicely.
Thanks so much for stopping by! I do hope you give it a try. I’d love to see your creations if you do!
Warmly,
Pam


