Today I thought I would try to combine two of my favorite things; stippling and embroidery. You may be wondering, “What is stippling?”. Stippling is a technique used mainly in painting and drawing. Basically, it is the act of making small dots or markings to create a pattern. I like to use it to create value in a painting and/or drawing. The placement of these dots and markings can create texture and shadows. By placing larger dots closer together you can create a dark shadow. Conversely, by placing the smaller dots further apart, the shadow is lighter. Shadows and texture add dimension to your art that makes it pop off the page rather than lay flat.
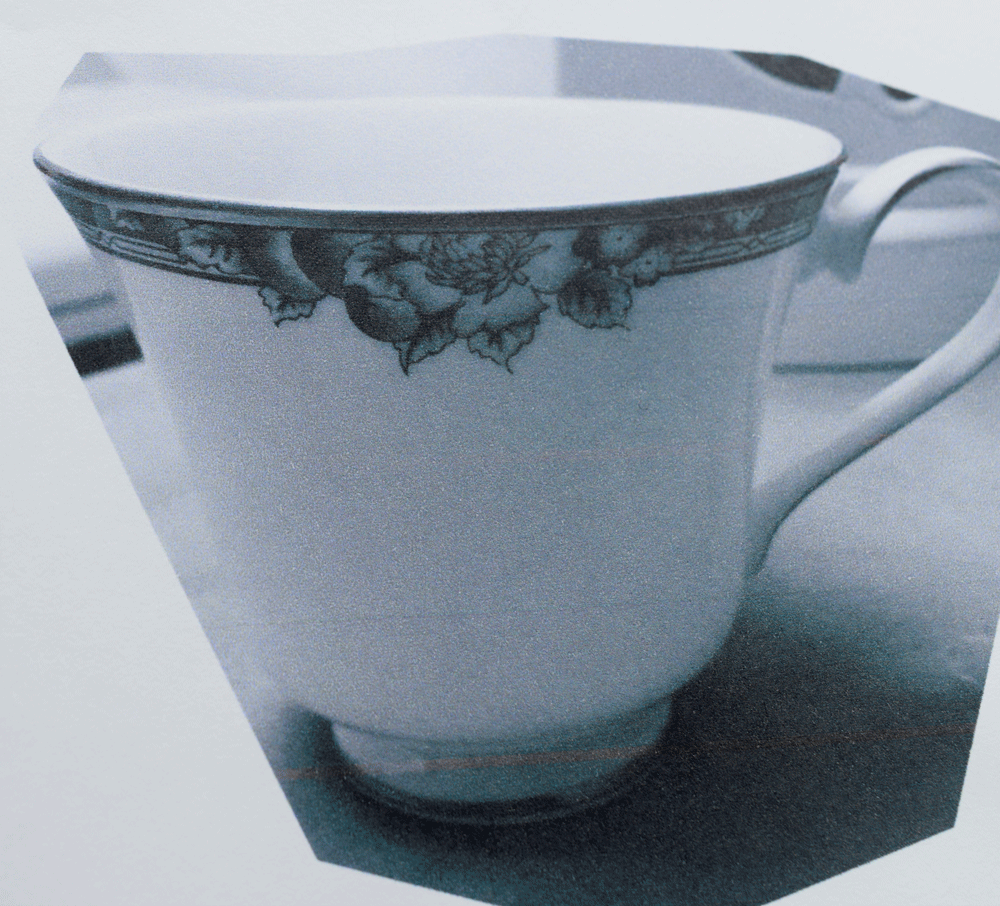
To get started, I took a photo of my teacup. I printed it in black and white to really emphasize the contrast areas.
The black and white photo is a great way to capture the value (range of light and darkness within a hue.)
The next step is to gather some cotton fabric. I chose a white cotton kona fabric. Since I planned on using black thread I thought white would really make the black stand out. To prepare the fabric, I like to add a lightweight fusible interfacing to the back of the fabric. This is great for two reasons. One, it makes the fabric less transparent so that you can not see the stitches in the back from the front. Two, it makes the fabric a little more stable which makes it easier to stitch on.
This is what the interfacing looks like. It has a textured side and a smooth side. You simply cut a piece of it to fit the project you are working on, face the textured side the the “wrong” side of your fabric and iron together. The “texture” is a glue that melts when heated and binds the interfacing to the fabric.
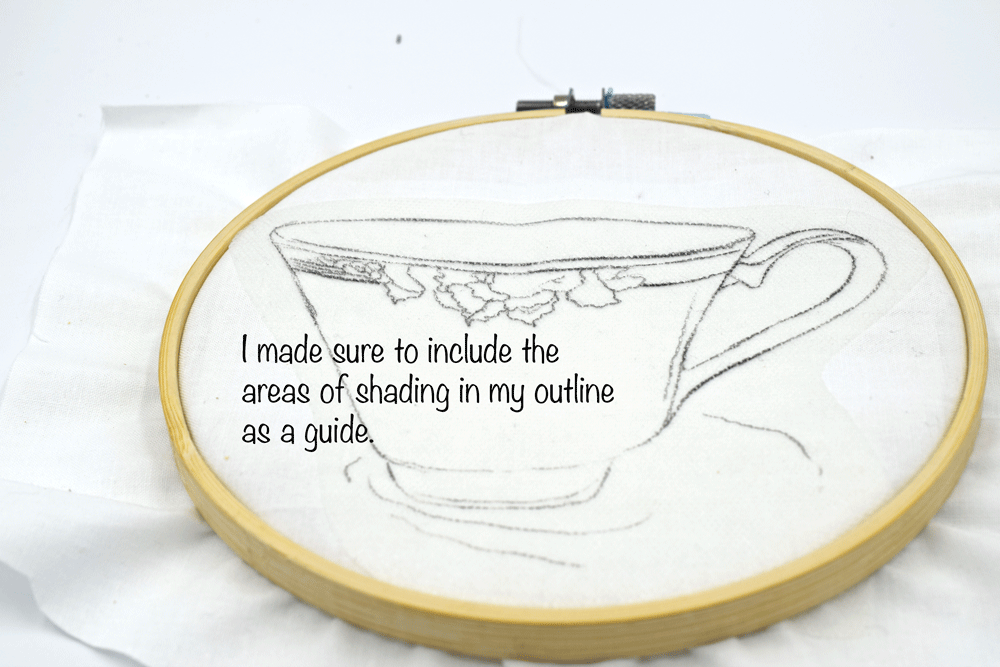
I sketched the general outline of the tea cup using a mechanical pencil onto a sheet of soluble stabilizer. You could sketch right onto the fabric but for some reason I really love these sheets. Once I finished my sketch, I simply stick it directly onto the fabric, hoop the fabric, then begin sewing.
Above is the paper I use to trace my embroidery onto. Just cut the piece to size, peel off the paper fabric and stick to the fabric. After you are done stitching on your tracing you can rinse off the stabilizer with warm water.
I threaded my needle with a single thread of black cotton embroidery (I used DMC six stranded cotton embroidery floss.) The single strand really gives the effect of an ink line drawing and really allows for delicate detail work. If you would like to learn the BACKSTITCH click HERE. If you would like to learn the SEED STITCH click HERE.
For the lighter areas of shadow, I use small seed stitches placed further apart. For darker areas, I use larger straight stitches that are closer together. For the darkest shadow (where the cup meets the table, use a hatching/cross hatching technique. Hatching is the use of a series of parallel lines to create the illusion of shadow. Cross hatching is the crossing of those parallel lines. I just made a bunch of straight stitches. Some parallel and some crossing over one another. I also added some seed stitches to the areas that were a little lighter.
That all there is to it. I was going for a simple stippled ink drawing using embroidery. I will definitely be exploring this a little more. Hope you enjoyed the journey and that it left you inspired to give it a try and do some experimenting of your own.
Thanks for stopping by!
Warmly,
Pam


