It takes me a long time to find a pair of jeans I like. It takes years to wear them in. They get worn and stretched in all the right places like a comfortable pair of slippers. AND I LOVE THEM. Eventually, they become loved so much that they start to tear. Before you know it, the little holes become big holes and you have a problem on your hands. Don't throw your beloved jeans out just yet! I like to think of them as an ever-evolving work of art. Behold, Exhibit A:
This pair of jeans is over 10 years old. They were not expensive high quality jeans but they were (and still are) one of the most comfortable pairs I own. When they started to get old I decided to paint them to add some interest (I'll do a whole other post someday on that) but then.......the ripped knees. Knee areas take a lot of wear and tear so you need some strong reinforcements to repair this problem. Fear not! I have come up with a method that will not only save your fave jeans but will also add some artistic flare!
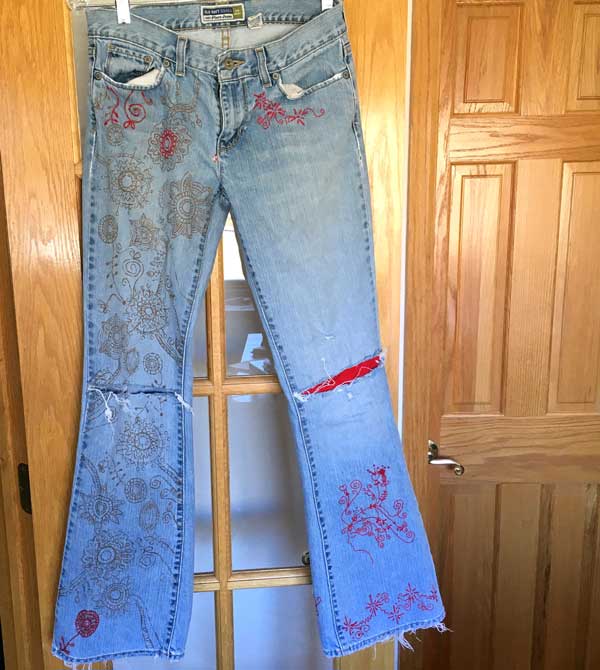
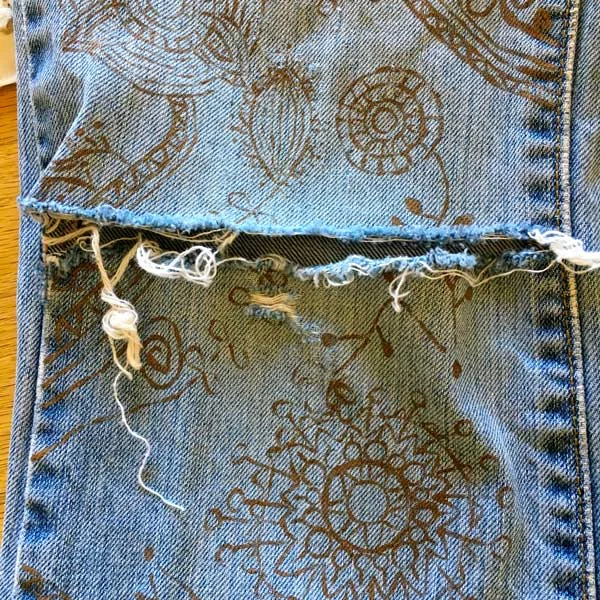
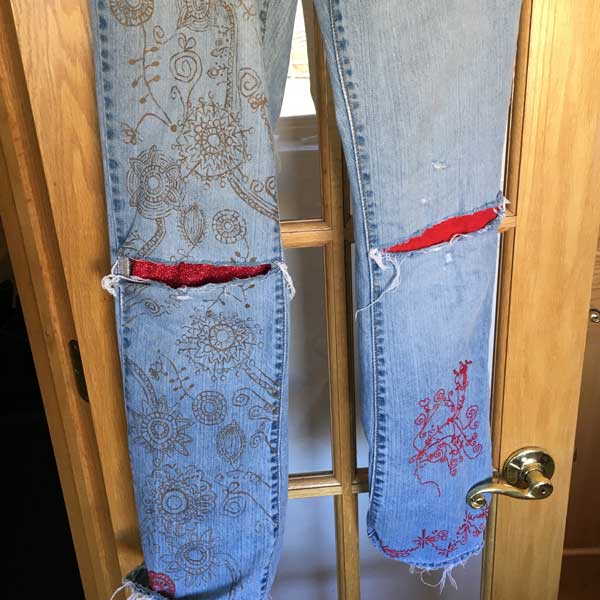
Here they are in all their pre-repair glory; faded, worn, and charmingly beat up.

Above are the simple supplies you will need.
1. You will need some simple cotton embroidery floss in the color of your choice.
2. Some fabric scraps (big enough to cover the hole you are repairing plus about an inch and 1/2 of overlap.)
3. A darning needle. This is a long thick needle with a big eye. It is nice, thick, and sharp enough to pierce denim plus it had a nice big eye at the top to make threading the needle nice and easy.
4. *Optional fabric glue. I love this stuff for this project. It should be used in a well ventilated area (it is kind of stinky) but it really does a great job of fusing the fabric to the jeans (if you look at the jeans picture above, the right knee was repaired with just glue.) I have used just the glue without any reinforcing stitches and it held up through multiple washes. If you do not want to use the glue you can pin the fabric in place or use a big tacking stitch which you can take out later.
5.* Another optional item, which is not pictured above, is an old paintbrush to apply the glue.
6. Sharp scissors to cut your thread.

Start by picking out your fabrics. I like to take my scraps and test them out to see what they will look like on the jeans.
I try this red one but I decide, too much red. While it could be offset by different colored embroidery, I try some other fabrics.

Next I try this blue pattern. It picks up a little of the red and the circular pattern on the jeans but it still does not feel quite right.

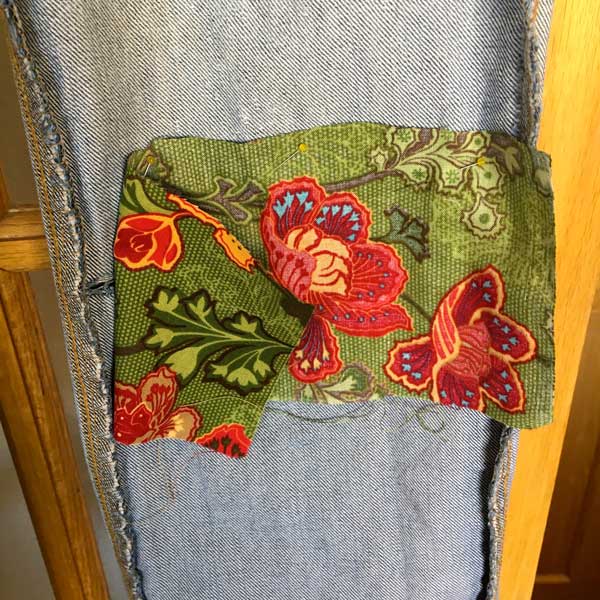
Bingo! We have a winner! I love the way the green in this fabric looks against the faded denim. It also picks up on the red and gold on the jeans. Overall, the pleasing effect I was looking for.

Start by turning your jeans inside out to assess the hole you will be covering. Put your fabric over it and cut it to size. You want enough to cover the hole plus an inch (or even two) of overlap.
I like to play around with the fabric so that the pattern I want will be seen though the hole. You will be adhering the fabric 'wrong side' facing in. I turned down the edge in the picture above to illustrate this. You can see the hole at left edge. I centered the fabric in a position I liked and left about an inch and 1/2 around all the borders. Also, I pushed the fabric in a little to add some extra allowance to give the knee room to bend. I pinned just the top so I can lift the fabric to apply the glue but still keep it in place.
You can just pin this in place or even use large tacking stitches. That works just fine but I like the ease and accuracy of the glue method.
If you are using the glue, lift the fabric. Get out your old paintbrush, dip it in the glue, and brush all around the perimeter of the hole, directly onto the denim. Now let your fabric down and press it in place on the glue. Smooth out any wrinkles. This is a good time to make adjustments while the glue has not set yet. Once the fabric is where you want it, let the glue dry for 2-4 hours. It dries pretty quickly here in the Colorado climate. It may take a little longer in a more humid area.

Here is the fabric fitted and glued over the hole. I went around the edges with the glue to make sure everything is laying down and secured properly. Can you see the bit of extra fabric in the middle to account for the knee bending?
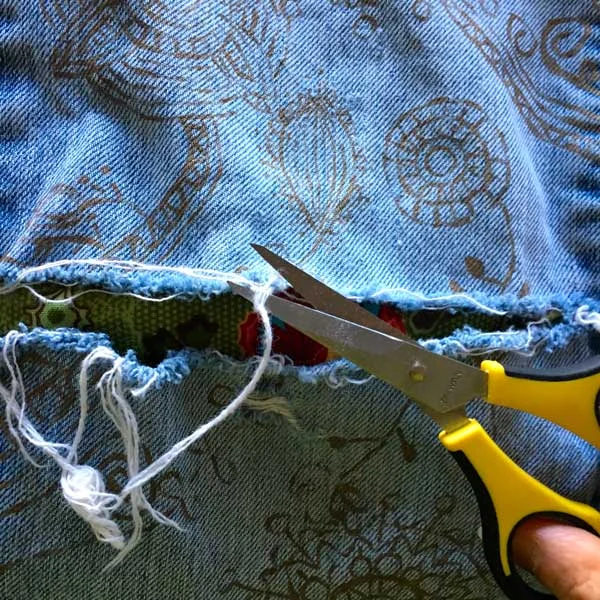
Now that your jeans are all dry, turn them back the right side out. I had a lot of little strings, so I trimmed mine a little before beginning. I really like the charm of the strings but I could picture them getting caught in the embroidery and the expletives that would follow, so I opted to trim.

Now let the fun begin! Pick a color of embroidery thread. Thread your needle (I used all six strands to make it nice and thick.) Cut a piece about 18 inches long. Thread one side through the needle and put a double knot through the other end. Go inside the jeans and poke your needle up, pulling until the knot catches. Next put the needle back down into the jeans 1/4 inch next to where you pulled your needle up. Continue this around the perimeter of the hole (This is called the running stitch in case you want to find a video demonstration of it on youtube.) Note how the fabric bulges just sightly out of the hole. That is the extra knee allowance.
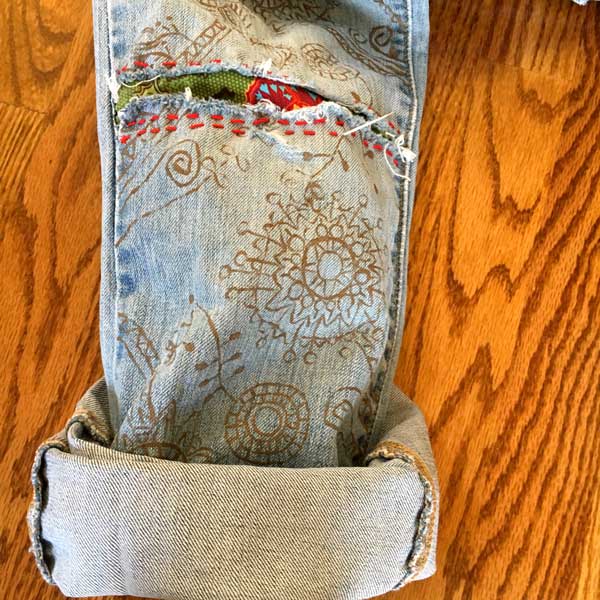
It helps to roll up the leg if you are entering from the bottom so you have easier access. I decided to keep it simple for this demonstration by just repeating the running stitch in lines. You can mark your surface with chalk or disappearing fabric ink and a ruler but I like doing it freehand and keeping it a little wonky. Imperfect is much more pleasing to the eye (think typing vs handwriting). There is more personality in things that are imperfect:) At least that is what I like to tell myself. This is an excellent reinforcing stitch for the knee area.

I decide to add some other colors for some extra interest.

It's O.K. to get a little creative if you feel like it. Add some swirls or mimic something on the fabric.

Add splashes of color.

Done for now! These jeans are a constant work in progress. While I usually only work on them when there is a repair, I sometimes take them out and do a little stitching. In 10 more years they will be a quilt.

You don't have to have a rip to try out this technique. I cut small holes in this pair and just used it to add a decorative element.

Try out some different stitches. Here I added some french knots, my favorite!

A leaf pattern with a tiny surprise at the bottom.
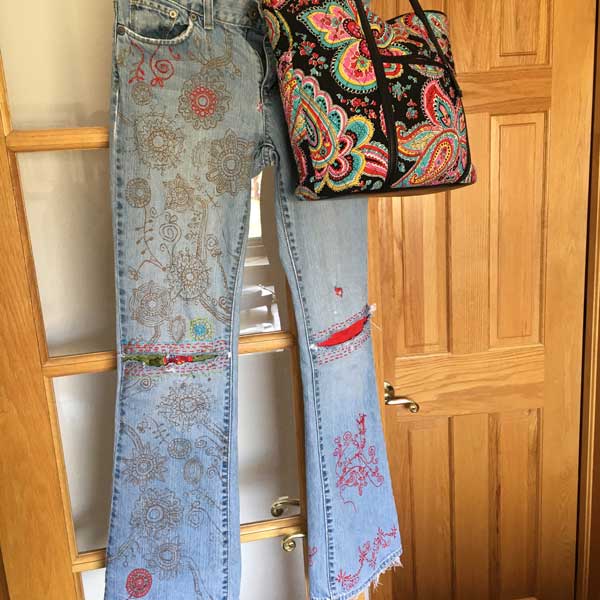
Sometimes when I am making these, I say to myself "Do I even have a shirt to wear these with?". Then I remember my bag. A plain black or white shirt, a crazy colored bag and some black shoes. There you have it. You are ready for a stroll on Pearl St. (or to be committed) but normal is way overrated anyway. Now pat yourself on the back. You have created a piece of art, saved your favorite jeans, and helped save the planet by recycling. Not bad for a day's work.
Thanks for stopping by!
Warmly,
Pam