Today I decided to combine my two favorites, watercolor and embroidery. I used watercolor to decorate my fabric and then did some freestyle embroidery stitches to create an abstract piece of art. I found this project to be so meditative and relaxing. Want to give it a try?

You will need some light fabric. Unbleached muslin fabric takes paint beautifully (called Calico in other parts of the world.) You will also need a big ole' wooden embroidery hoop. I used an 8 inch. You want a lot of room to experiment on!

Next, gather some different paints to experiment with. You don't need fancy or expensive paints. The cheap set on the right worked great! The difference between cheaper sets and more expensive paints is both the richness of the pigments and how long the paint lasts. The cheaper paints tend to have a more pastel effect. I loaded up the brush with pigment and I found the cheaper paints were great. Use what you may have lying around. If you are going to purchase paints the cheaper sets are very reasonable.
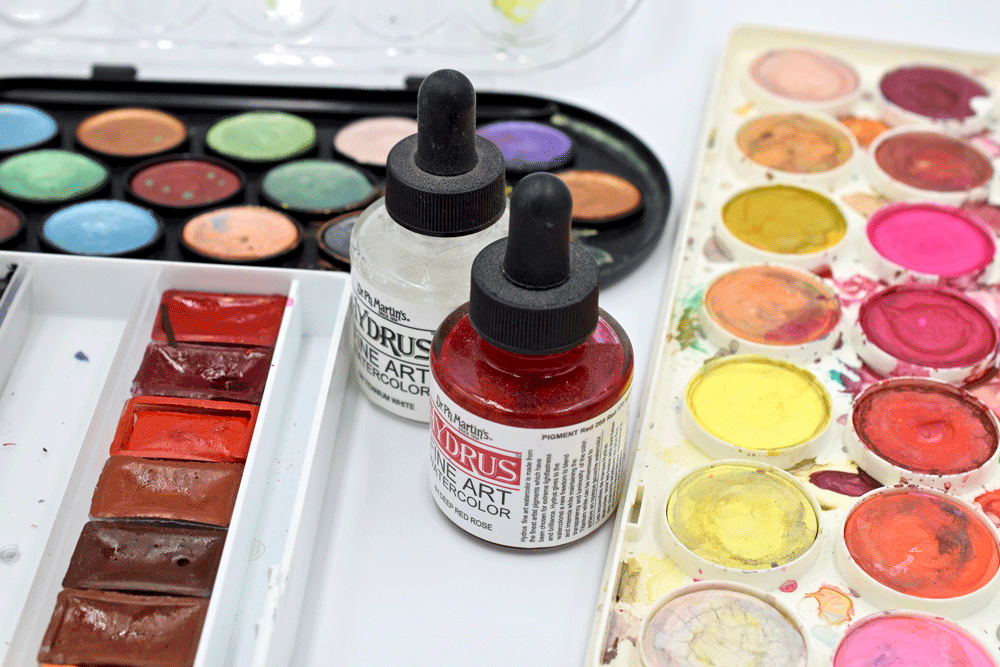
I use a mid-range set on the left, some liquid watercolors in the middle and a cheap set on the right.
There is also a shiny metallic set on the back left corner. I LOVED the glittery effect of those!
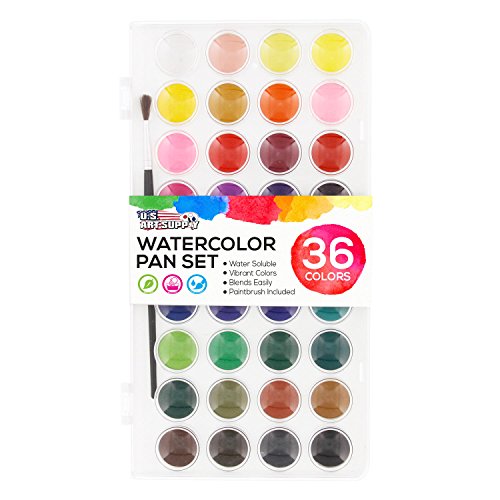
Above is an example of a cheaper set of watercolor paints in a wide range of colors.
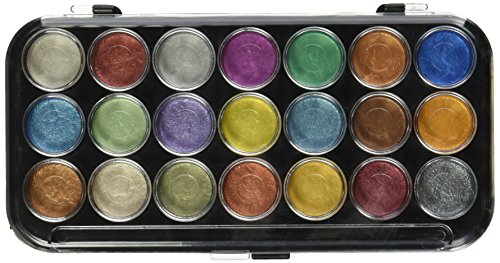
Here is an example of the metallic watercolor paints. They leave a shimmer on the fabric that was just so gorgeous and subtle.

Get an empty spray bottle and fill it with water. Make sure the spray bottle has a mist option.

I also should mention here, there will be some paint splatter during this project so you may want to protect your surfaces by laying down a table cloth and/or placing the hoop in a cardboard box to prevent side splatter. The paint will also get on your wooden hoop so if you could protect it by sticking painter's tape on it. Personally, I liked letting the paint splatter onto the hoop. It will evolve into part of the art somehow.

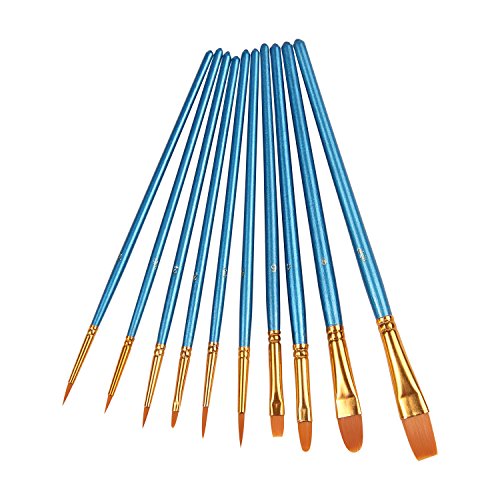
A set of inexpensive craft brushes like the one above will work great for this project.


The further in I get, I stop thinking about shapes and just let my right brain take over. I'm in the zone.


I made a heart shape and sprayed it with water. I loved all the little splatters it created.


Next, I added a sparkly metallic swirl of green and blue to the left.

And then I just went nuts adding lots of color. I continued spraying the fabric with water to really let those colors bleed into one another and added colors that my heart told me to; bright, vibrant, and melding into one another.

This is the end result. I brought the piece into the bathroom and used a hairdryer to dry it completely while, unbeknownst to me, splattering wet paint all around the bathroom. I should advise at this point to put your frame in a cardboard box to catch the splatters. No problem wiping up the watercolor though.
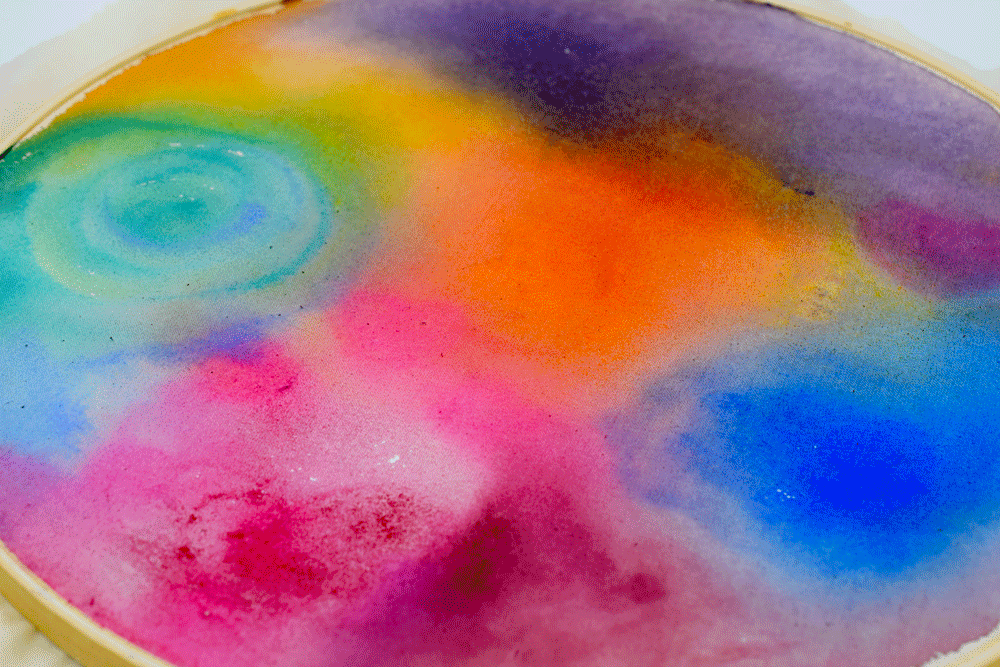
Here it is all dry and ready to be stitched on. It does fade a little after drying but not as much as I thought it would!
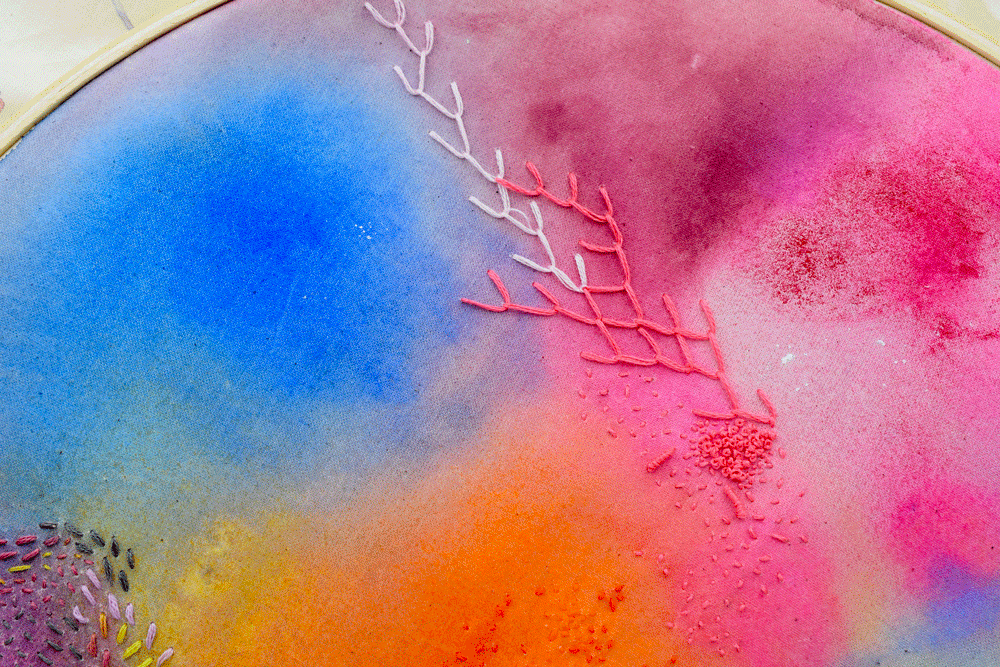
Now get your thread and needle and let your heart guide some stitches. Here I make some FEATHER STITCH, SEED STITCH, and FRENCH KNOTS. I just grabbed colors that looked "right" to me and began stitching.
I love the effect of adding similar colors of thread to the matching color on the fabric.

Globs of FRENCH KNOTS, BULLION STITCH, and tiny SEED stitches create this surreal scene. Still not sure about the WOVEN WHEEL yet. No biggie. It can always be removed.

I just keep adding little stitches. In areas where two colors were blending together, I blended the two thread colors together.

I used some variegated thread and SATIN STITCH around the edges where the watercolor paint and wooden hoop meet.

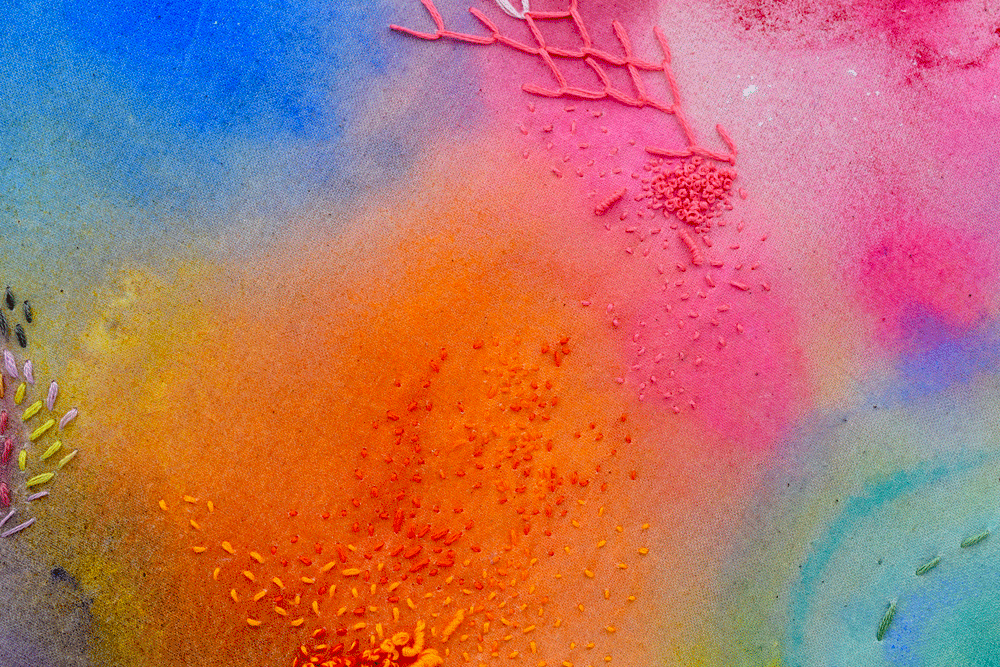
Swirled patterns are really fun to make and add interest and movement to the piece.

Changing the size of your stitches adds some great texture and visual interest.
I am still pulling out this piece and working on it when I have free time. It is a great meditative practice paired with some music or a juicy podcast.
How do you know when you are finished? When it feels done. If you have a tendency to over work things, like me, stop when you are 85% finished. An excellent rule of thumb. I will update when I have 'finished'.
*This post may contain some affiliate links.
Thanks so kindly for stopping by.
Warmly,
Pam