I happened to be cleaning out some of my sewing supplies and found some denim patches. I use them to repair holes in jeans but another idea popped in my head. How about embroidered patches?
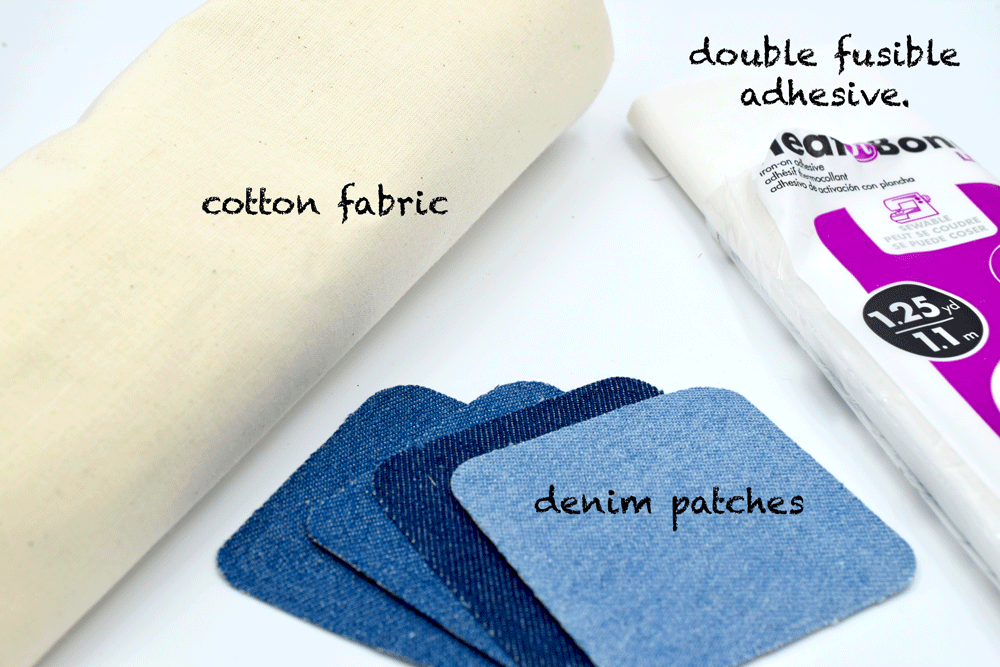
I started by gathering a few simple things:
1. COTTON FABRIC: A simple unbleached muslin worked well for this project.
2. IRON-ON PATCHES: I happened to have a multi-size pack of these patches which worked great.
3. FUSIBLE ADHESIVE: This is an iron-on adhesive that has paper backing.
This adhesive is double sided so that you can use it to adhere two pieces of fabric together using a hot iron to melt the glue.
In the above example I choose a butterfly design from my shop HERE. When you are choosing a design, it is a good idea to pick smaller 'patch-sized' designs that range from 1-4 inches.
I used a mechanical pencil to trace my design. I like to add an extra step here that is totally optional for you. I add a piece of lightweight interfacing to the back of the fabric. There are two reasons I like to do this. One, it adds a little extra stability for lightweight fabrics and two, it makes the fabric less transparent so you can't see the messy stitches in the back. Here is what I use:
After I finished sewing my designs, I removed them from the hoops and prepared to fuse them to the patches.
I used my thread scissors to trim any excess threads on the back of the design.
After I traced around the patch, I cut along the line with fabric scissors.
Next, I cut out a piece of the adhesive by tracing around the shape of the patch onto the heat and bond. The heat and bond has a paper side and a textured side which is the glue. Lay the patch on the paper side, trace around it with a pencil and cut out your tracing with scissors.
I placed the adhesive piece paper side-up over the patch (on the side that does not have the glue) and ran a hot iron over the paper for a few seconds.
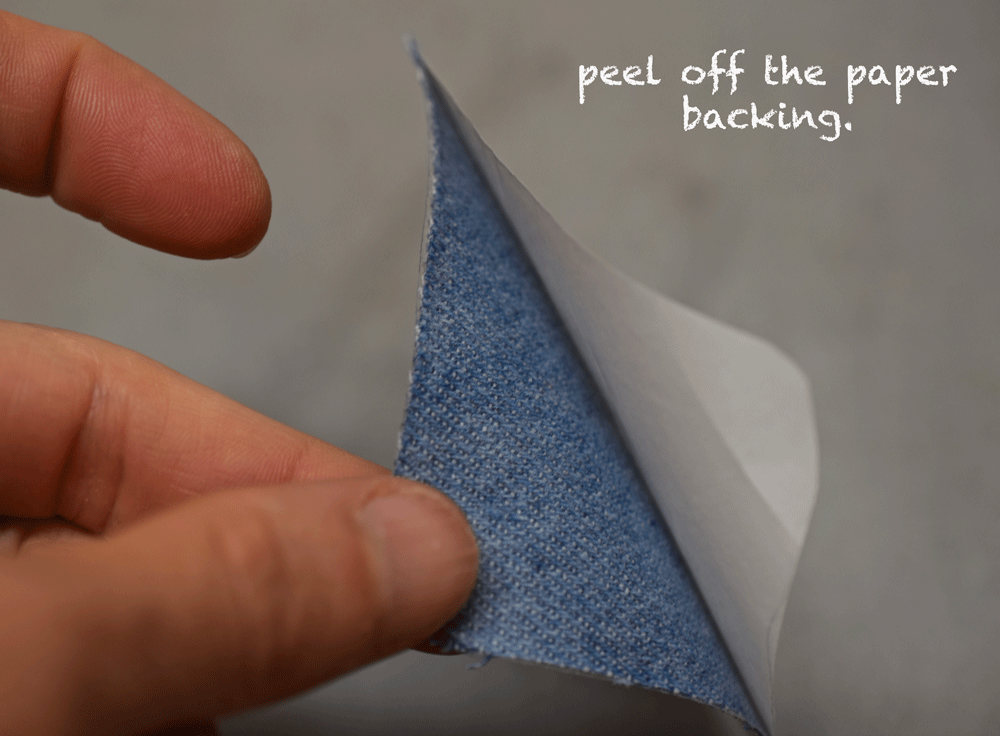
After the iron melts the adhesive onto the fabric, let it cool slightly then peel off the paper backing.
***What you do not see pictured above is a piece of wax paper underneath the patch to prevent it from sticking to your ironing board.
There is now an adhesive on the patch to fuse your embroidery piece onto.
You can use the paper backing from the heat and bond or a piece of wax paper underneath the patch to prevent it from sticking onto the ironing surface.
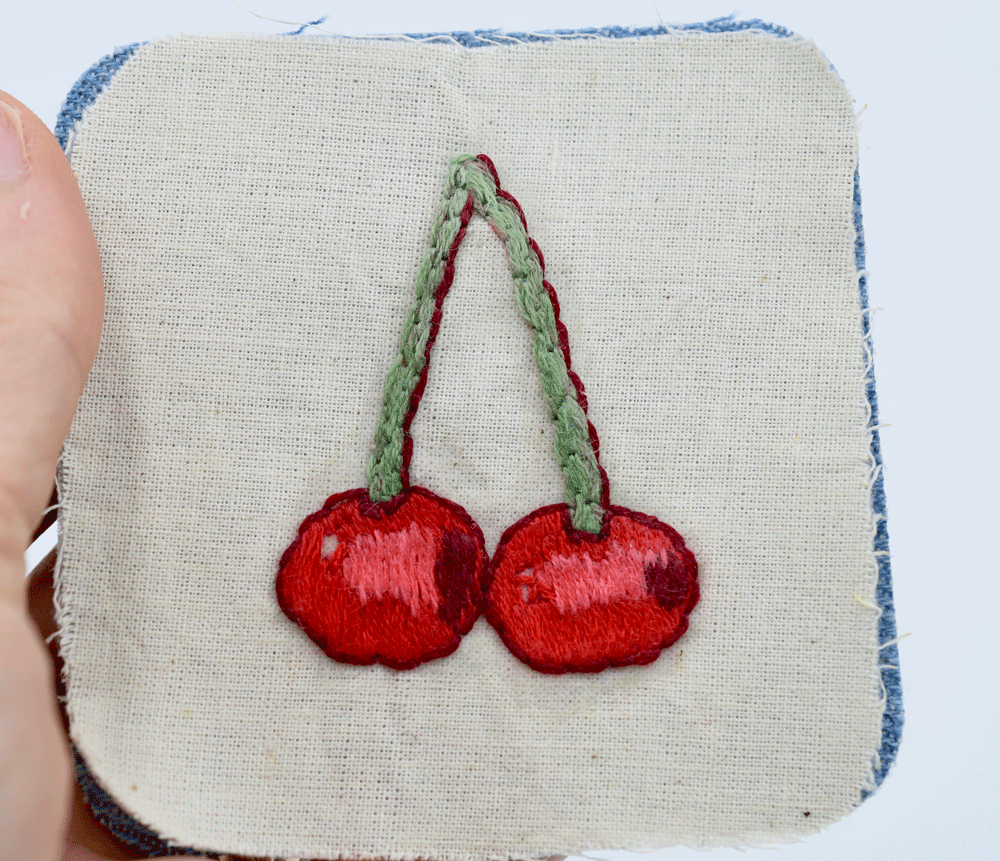
Here is the embroidered design after it had been fused to the denim patch. The edges need to be finished to prevent fraying so don't worry if it looks a little messy. The edges will be hidden. This will also serve to prevent fraying.
Once all the designs have been affixed to the patches, it is time to finish the edges.
I gathered some coordinated thread, an embroidery needle, and scissors.
I brought the needle up from the back about 1/4 inch from the bottom and pulled the thread all the way through. Then bring the needle up from the back again right next the first stitch and keep going all the way around the patch. I used three threads for the edge. When I ran out of thread I just knot in the back under one of stitches, re-thread the needle, and started right where I left off.
Make your way all around the patch and you are all finished. This patch is ready to be ironed on to your jean jacket, back pack, zipper pouch, or favorite shirt! I am in love with the look of the variegated thread.
If you are interested in the patterns you see here you can find them in my shop as instant downloads.
For the Butterfly, click HERE.
For the Cherries click HERE.
For the SUSHI Click HERE.
**Coming soon: the little birdie, cupcake, and several other mini kawaii patterns will be making an appearance in the shop as PDF patterns.
**This post may contain affiliate links.
Thank you much for stopping by!
Warmly,
Pam


