Today I want to introduce you to a really fun new stitch. It is useful as a filler stitch, which means it can cover a large area of fabric. Examples of other filler stitches are the SEED STITCH, THE SATIN STITCH, THE LONG AND SHORT STITCH, and FRENCH KNOTS.
I love this stitch because it is sweetly decorative, easy to make and covers a large amount of fabric in a short period of time. It is used quite often in crewel embroidery (Crewel embroidery is a type of embroidery that uses crewel wool as thread but many of the stitches used in crewel embroidery are also used for surface embroidery.)
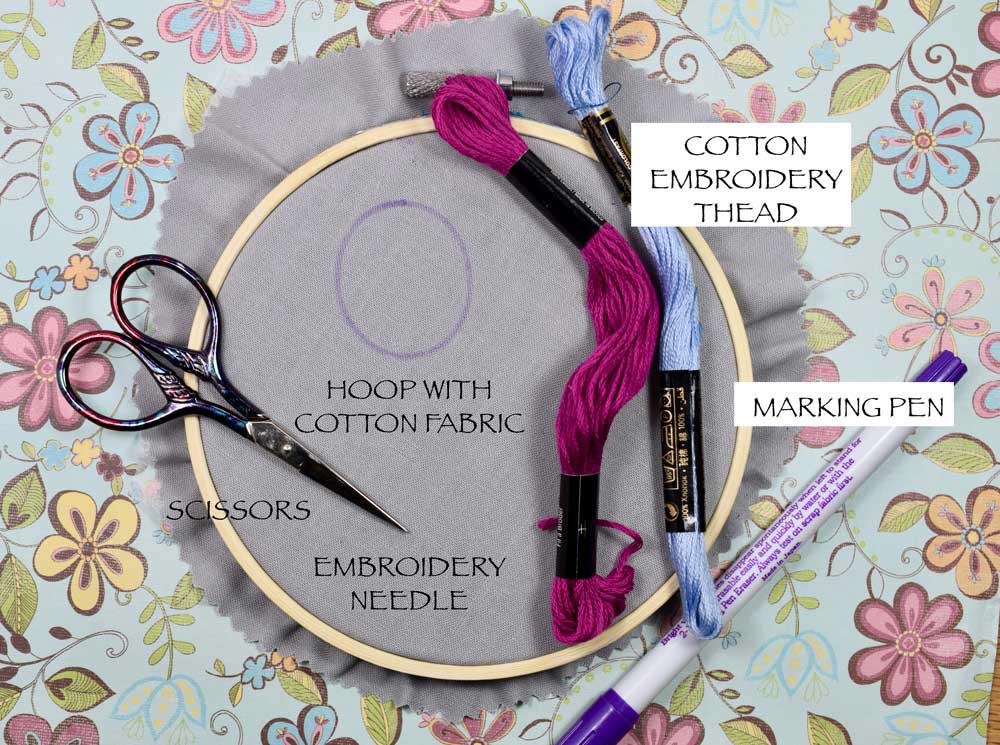
Let's start by gathering the necessary supplies:
You will need:
COTTON FABRIC IN A WOOD EMBROIDERY HOOP - A piece of cotton fabric tightly fitted in an embroidery hoop
EMBROIDERY NEEDLE - I like a size 5-10
SCISSORS - a dedicated pair of thread cutting scissors
COTTON EMBROIDERY THREAD - I like DMC six stranded cotton embroidery thread
FABRIC MARKING UTENSIL - It is helpful to trace a circle or oval on the fabric to use as a stitch guide. You can even use a sharpened pencil.
As in the above photo, start by marking a circle or oval onto the fabric with your marking pen.
Thread and knot your needle. I used three strands of thread in this example. Make your first stitch by bringing your needle up in the center of the circle or oval, at '1'. You will be making parallel lines diagonally across your oval/circle. It really helps to keep your parallel lines straight by starting in the middle and working your way out. Bring your needle back down at "2" which is straight across.
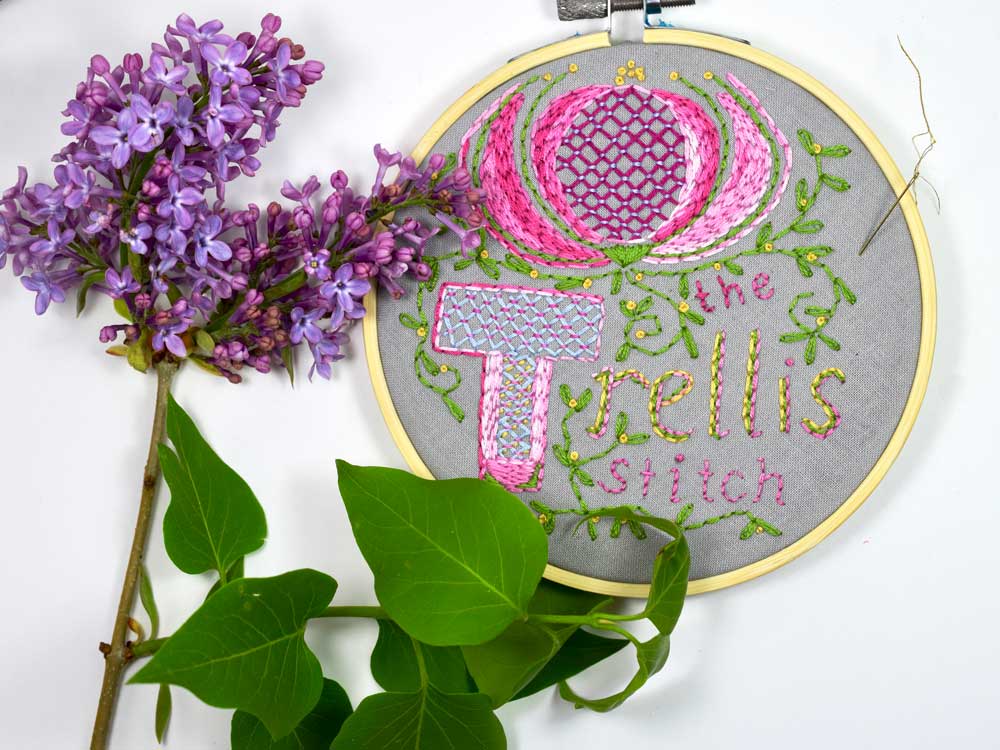
Fun and quick to learn, the TRELLIS STITCH is a charming way to add a decorative filling stitch. Here I incorporated it in a botanical theme.
Hope you enjoyed learning this stitch! I am currently working on a new pattern using this stitch so check in at the store HERE from time to time for some patterns to practice your new skills on!
Thanks for stopping by,
Warmly,
Pam


