Today I want to introduce you to a new stitch. It's called the CORAL STITCH. Upon completion, this stitch looks like a line with knots spaced across it. The coral stitch can be a filler stitch or a decorative outline stitch.
To get started you will need:
A WOODEN HOOP FITTED WITH COTTON FABRIC
EMBROIDERY THREAD: I like the DMC six stranded embroidery floss.
EMBROIDERY NEEDLE: I like size 5-10 needles that come in the multi packs.
SCISSORS: For thread snipping.
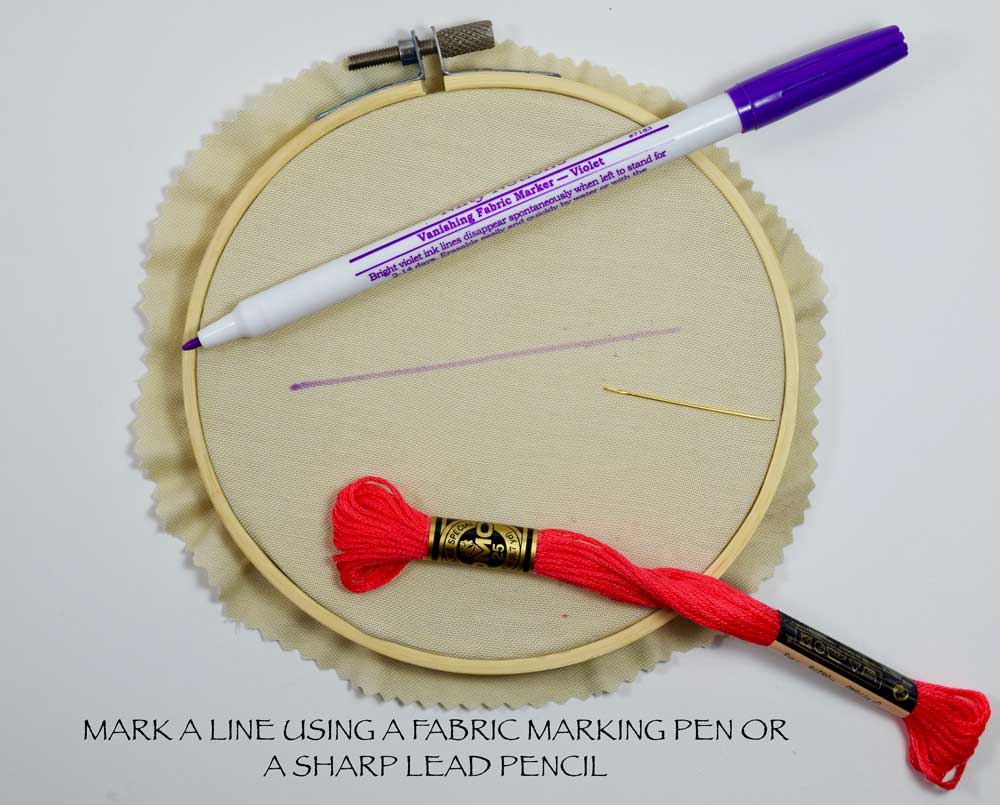
MARKING PEN OR PENCIL: I love this vanishing marker but a sharpened pencil works fine too.
1. Mark a straight line across the fabric using your marker or pencil.
2. Thread your needle. I used three strands of the six stranded thread in this example. Personally, I like the look of this stitch with a thicker thread but it is fun to experiment and try different thicknesses to see the different effects.
3. Bring the needle up from the back of the fabric starting on the far right of the line you made. the stitch will be worked from right to left.
4. Use your left hand to hold the working thread along the line you marked.
5. While your left hand is holding down the working thread on the line, use your right hand to bring the needle down 1/4 inch to the left and just barely above the line where I marked "1" then bring the needle back up directly below "1" and just barely below the line at "2". You will see a loop that has formed with the thread. Pull the needle up inside that loop and tighten to make a knot.
6. Continue to hold down the working thread on the line and use your right hand to repeat bringing the needle down at "1" then up at "2". Bring the needle up inside the loop and tighten to make knot number two.
7. Continue working your way across the line until you come to the end. Once you reach the end, bring the thread down just underneath the knot or a stitch length away and knot. CONGRATULATIONS, you just learned the coral stitch. It kind of reminds me of COUCHING but it is one continuous line and adds the knotted texture to the surface.
Try experimenting. The top example is three strands of thread with the knots spaced further apart. The middle example is three strands with the knots a little closer together. The last example is all six strands. I like the definition of the thicker stitch.
I tried a wool thread to see what that would look like too.
A closer look.
It works for curved lines too.
Hope you enjoyed learning this new stitch! Please check back at the shop for new patterns to practice your stitches. I try to use the stitches we have learned here so that you have a detailed reference. Each PDF comes with a detailed instruction guide, stitch tutorials, and all the details necessary to complete the patterns so click HERE if you'd like to browse the shop.
Here is a new pattern available at the shop. Great practice for the CORAL STITCH, TRELLIS STITCH, SATIN STITCH, and WOVEN WHEEL STITCH. Click HERE to see this listing.
*This post may contain affiliate links.
Thanks for stopping by and enjoy the rest of your week!
Warmly,
Pam


