With the holidays rapidly approaching, I pulled out my cookie cutters. This sparked the idea to create embroidered ornaments using the cookie cutter shapes as my templates.
Choose a fabric to trace a template onto. I chose solid cotton.
I always have a bunch of these gel pens in a jar at my desk. I often use them in my watercolor paintings to add white highlights but they are also fantastic for marking dark fabrics and for using on black paper.
Interfacing is optional but I love it because it makes cotton fabric a lot less transparent so you can not see the stitching in the back from the front. It also makes the fabric a little more firm and easy to sew on.
Above is an example of lightweight interfacing.
Here is the fun part! Get your thread and maybe even some beads and start using your beginner stitch knowledge to sew on and inside the templates. Use your beginner stitch knowledge and get creative.
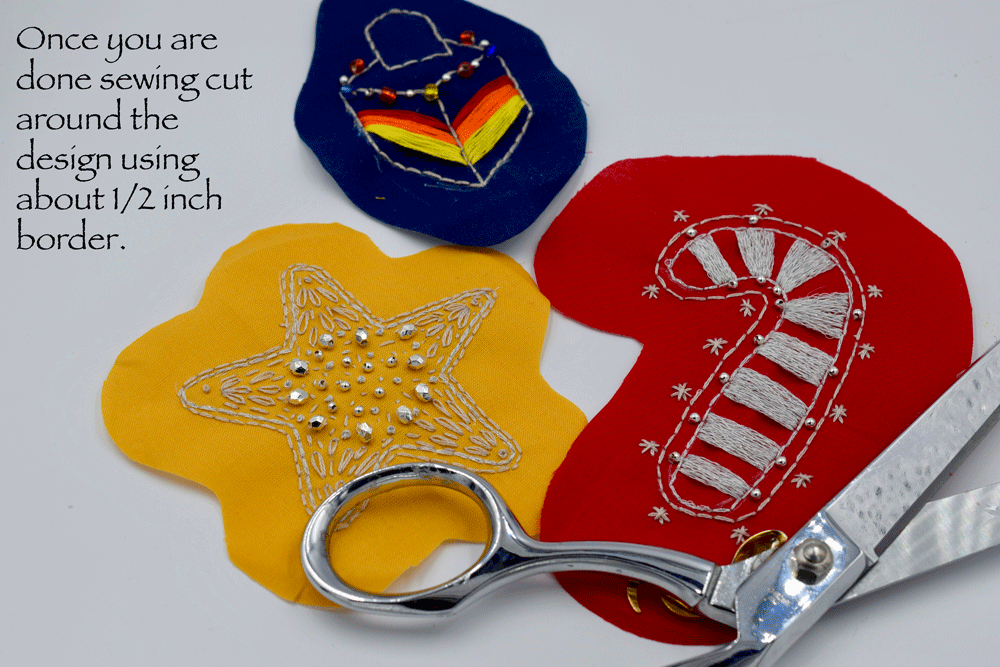
Above I use a simple SATIN STITCH, BACKSTITCH, some BEADING, and the star stitch to bring this candy cane to life.
SATIN STITCH, BACKSTITCH, and BEADS for this colorful dreidel.
Above I used the BACKSTITCH, STRAIGHT STITCH, and LAZY DAISY Stitch. FRENCH KNOTS dot the tip of each star, and shiny beads make the center shine. At this point, you could keep your designs in the hoop and finish the back but I took it one step further.
I like an opening of about 2 inches (maybe a little less) for turning the whole thing inside out after sewing.
I like to poke out all the corners using a chopstick. Use stuffing to fill the ornament. Above is what I used. It’s just a simple fiber fill stuffing.
Fill the ornament, trying to spread out the fiber fill evenly.
I just used my needle to bring a piece of thread through the top of the ornament. I tied it so that I could use that to hang the ornament. Also these would be great as a gift topper.
They also make very colorful ornaments.
Thanks for stopping by! Happy almost holidays!
Warmly,
Pam


