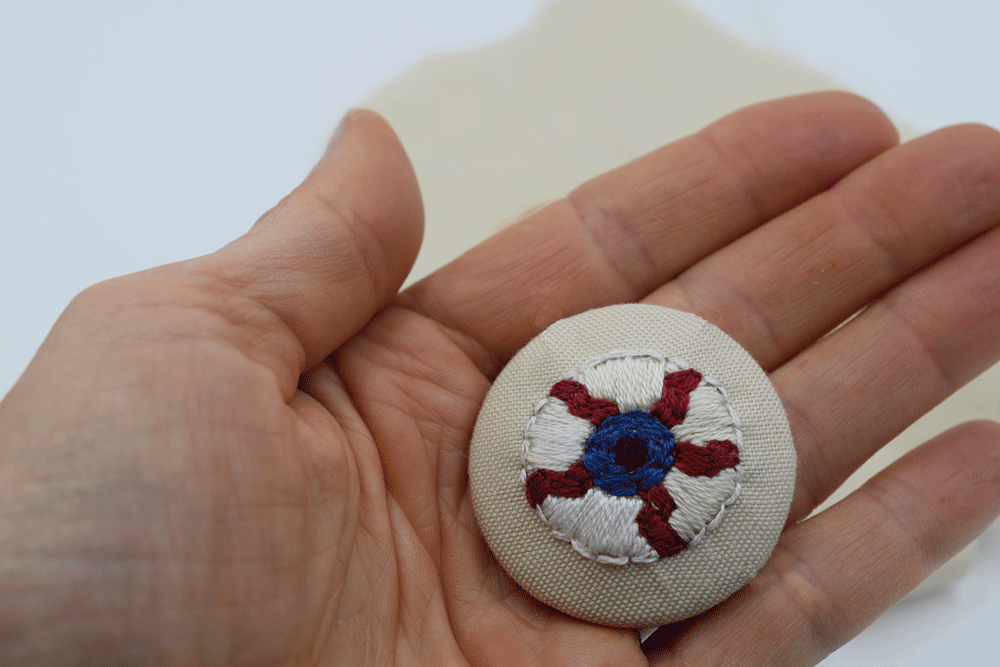
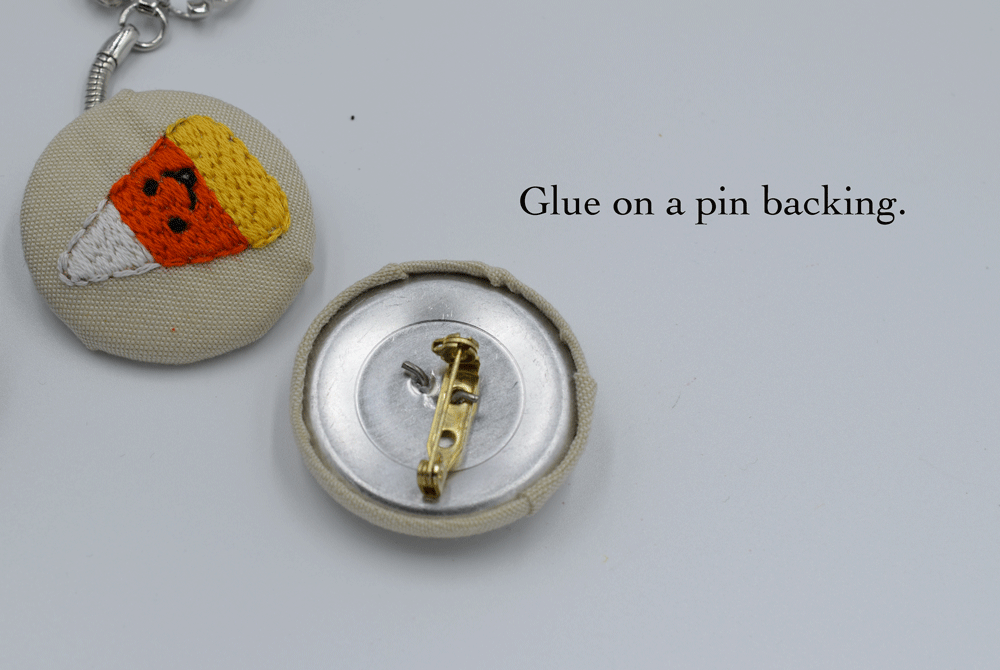
Today I wanted to try a new way to use small embroidery projects so I decided to make fabric covered buttons. There are a number of cute ways to use these once you make them. You need a couple of simple supplies.
SMALL EMBROIDERED DESIGNS: Make sure the size of the button you buy can accommodate the size of your embroidery design. For this project I used my KAWAII HALLOWEEN designs which are 1-3 inches.
A BUTTON MAKING KIT - This will include the button shell, button backing, mold, and pusher.
Here is an example of the button making kit I used.
Start by placing your embroidery design in the mold.
The instructions on the button maker has a pattern on the back to trace the perfect sized circle to fit around your button with just enough overlap but for some reason it wasn’t enough overlap for me. I was wondering if it had something to do with the embroidery. I decided to trim the fabric after I fitted it into the mold and around the button.
Pop it out of the mold and TA-DA! Fabric covered button.
There are a lot of fun little things you can do with these.
Put a hair band in the loop on the back to make a bracelet or decorative hair tie.
The back.
Just another fun thing to do with your small embroidery projects!
Hope you enjoyed and thanks for stopping by!
Warmly,
Pam


