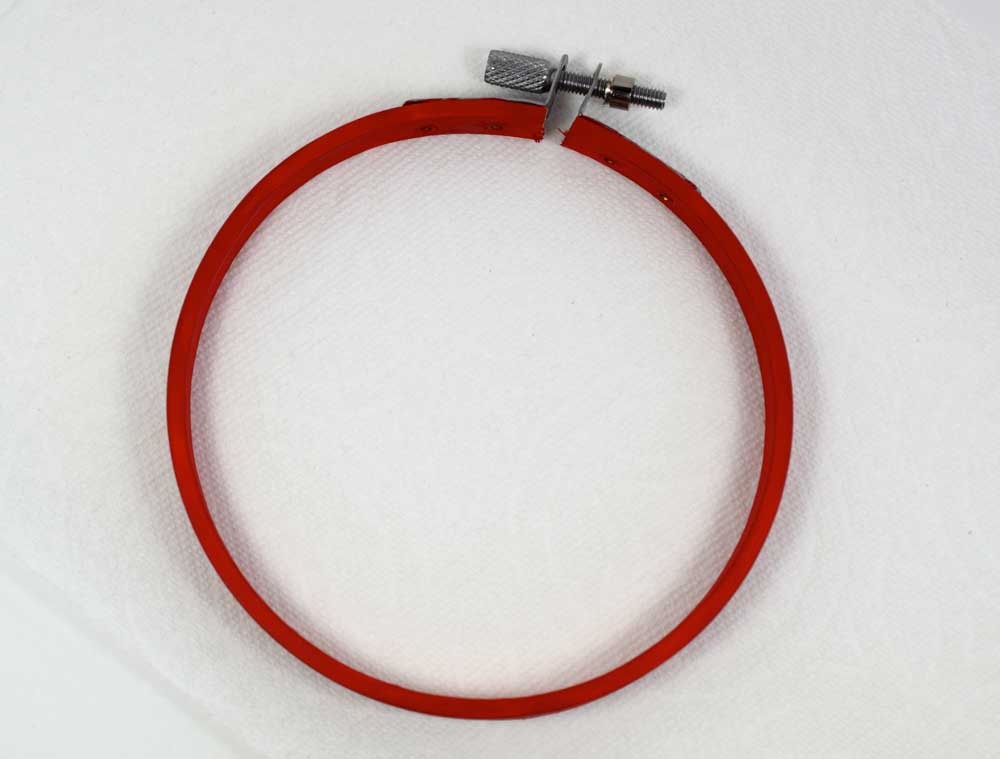
Every time I see unpainted/unfinished wood I feel the desire to take it one step further. Embroidery hoops are a great example of this. While I love the look of wood, wouldn't it be great to add a little variety and embellishment to your embroidery projects? Here are a few fun ways to add some color and pizazz to your unfinished wood embroidery hoops.
1. STAIN YOUR HOOP:
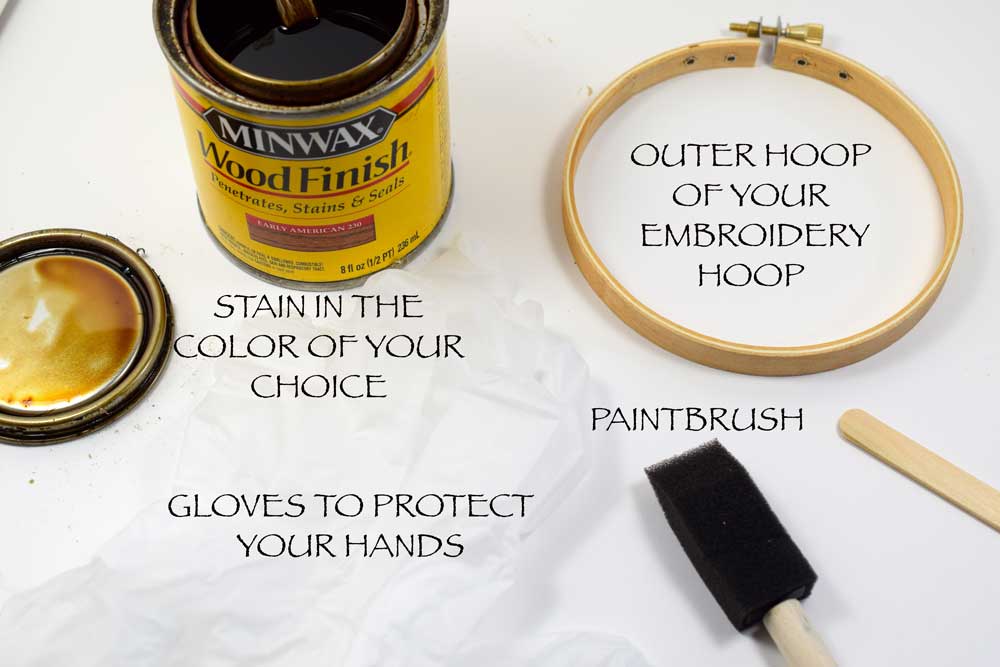
To stain your embroidery hoop you will need:
STAIN - There are many different color choices. My project is coffee related so I chose a dark, rich stain.
WOOD EMBROIDERY HOOP - Embroidery hoops come in two pieces. A large outer piece with metal hardware at the top and a smaller inner hoop. I am specifying 'wood" hoop since you can also find hoops made of plastic. You will need just the outer piece of the embroidery hoop. You don't need to stain the inner piece since it will be covered by your embroidery project.
GLOVES - A pair of rubber gloves to protect your hands are always a great idea when handling stains. This can be pretty messy.
PAINTBRUSH - This will be used to apply the stain to the hoop. I used this small foam brush since I was just going to throw it away when I was finished but a regular paintbrush is fine too.
RAG OR PAPER TOWEL - To wipe excess stain from the hoop.
*OPTIONAL POPSICLE STICK - My stain was a little old so I needed to stir it up a little.
**OPTIONAL TAPE (WASHI OR MASKING) - If you want to protect the metal hardware at the top of the hoop. I just kept a paper towel close by to wipe it away.
To get started, put something down to protect the surface you are working on. Make sure to remove any stickers from the outside of the hoop and wipe off any adhesive the sticker may have left behind. Sand it if you see any splinters and wipe off any excess dust. Once your hoop is clean and dry, put on your rubber gloves. I mixed the stain around with my popsicle stick. Next, use the paintbrush to apply a nice even layer of stain around the the hoop going with the grain of the wood. I did this while holding on to the metal piece at the top. Leave the stain for 5 to 15 minutes to absorb into the wood. The longer you leave it the darker the stain gets. Wipe off the excess stain with a paper towel or rag and let it dry for 8 hours (more or less depending on how dry the climate is where you live.) You can finish it off with a coat of sealer if you like. I just left is as is.
2. PAINT YOUR HOOP:
To paint your hoop you will need:
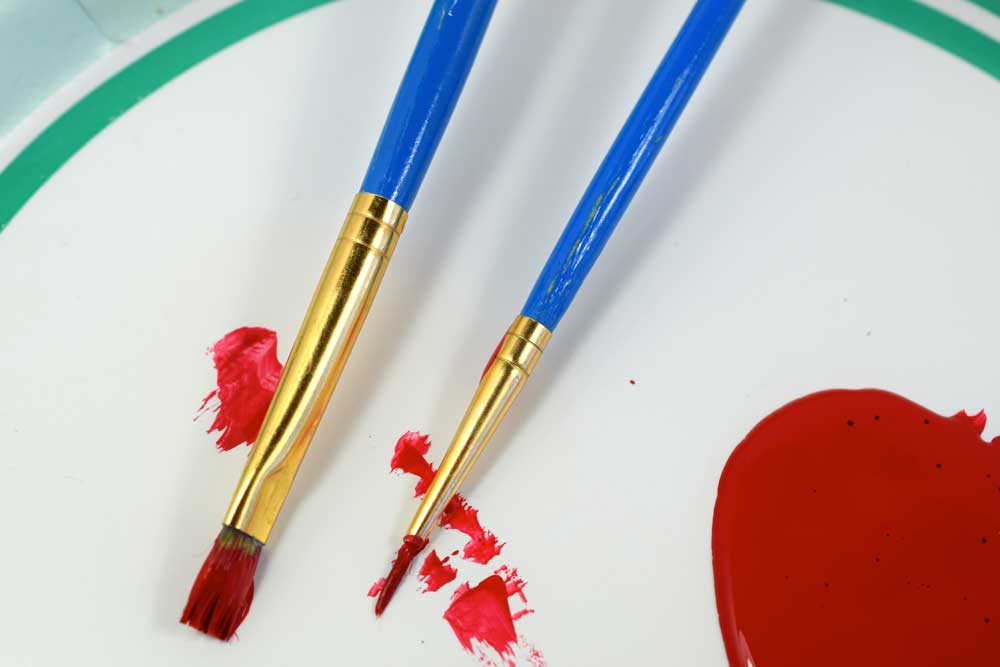
ACRYLIC CRAFT PAINT - You can find these tubes of paint at ANY craft store. They are cheap and come in any color you can imagine. This is a great way to coordinate your hoop with a specific color theme in your embroidery project.
WOODEN EMBROIDERY HOOP - You will need the outer part of your embroidery hoop.
CRAFT PAINTBRUSHES - When I specify craft brush, I am referring to the less expensive brushes at the craft store that come in packs in a variety of sizes. I have a medium sized one and a very small one to get around the metal hardware piece.
*OPTIONAL WASHI OR MASKING TAPE - If you want to protect the metal hardware, you can cover it but I just keep a paper towel nearby to wipe away the excess while it is still wet. Even if the paint dries on the metal it won't stick. It can be scraped off later if you need to.
**OPTIONAL HAIRDRYER: I like to use a hairdryer to dry the paint a little faster.
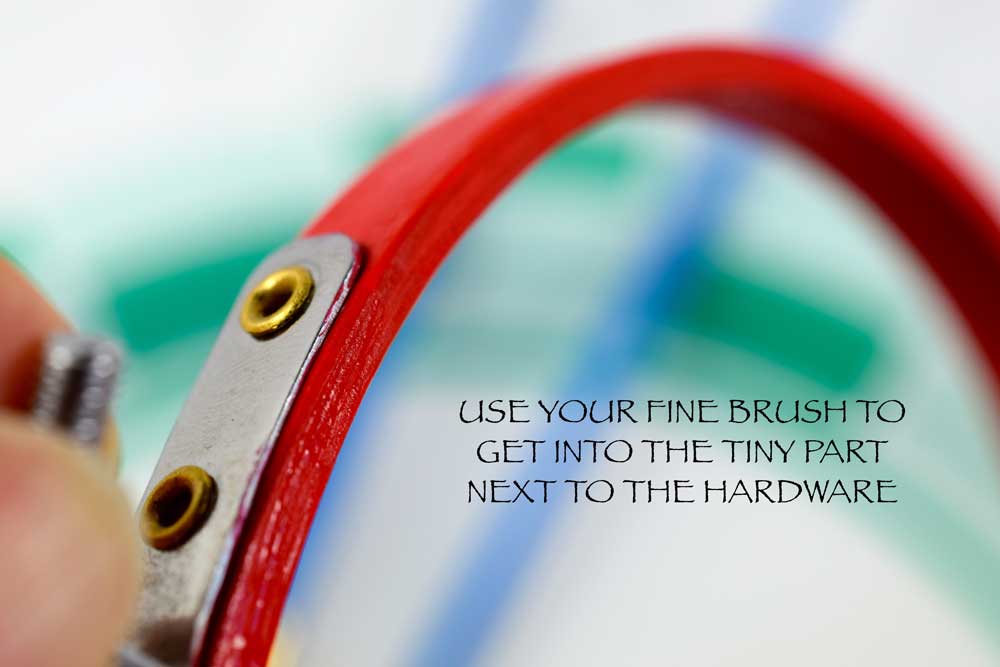
I held onto the metal part and painted my first layer of paint onto the hoop. I start with the bigger brush and then use the tiny, fine brush to carefully get the part around the metal piece.
I used my hairdryer to speed the drying process and then I added another layer. Keep adding layers until you are satisfied with the color. You may choose to add a layer of protective finish.
3. RIBBON EMBELLISHMENT:
To add a ribbon embellishment to your hoop you will need:
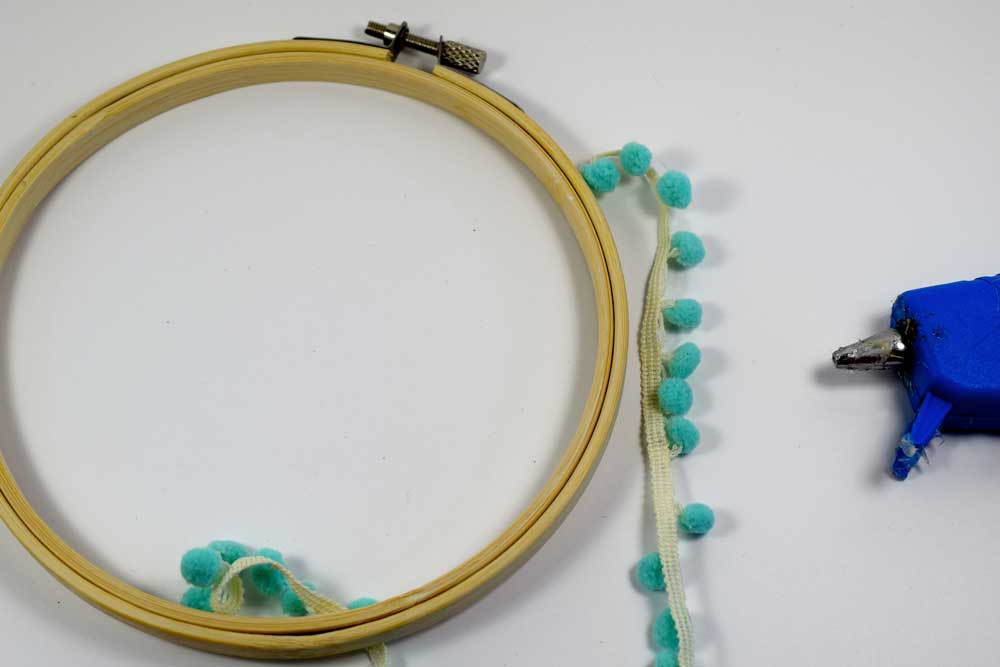
POM POM RIBBON OR OTHER DECORATIVE RIBBON - Something flat that can be glued to the outside of the hoop
WOODED EMBROIDERY HOOP - Just the outer edge, as in the other examples.
GLUE - I started out using tacky glue but I found it took a long time so used a hot glue gun which was much faster and easier.
I measured from the metal bracket on one side of the hoop to the other metal bracket since I did not want to glue the ribbon to the metal part.
I added a little dab of glue at the very top and glued down the very top of the ribbon. When you are placing the top piece of the ribbon, make sure you are aware of the directions the pom-poms are facing the that the ribbon is where you want it. I wanted my ribbon to be close to the edge so the pom-poms would really be visible. I continued to add little dabs, then glueing down the ribbon as I went along until the whole piece was glued on.
4. RIBBON WRAPPING
For the ribbon wrapping method you will need:
RIBBON - This is a great way to coordinate with the color theme in your embroidery project. You want to get a roll of ribbon that has enough length to wrap the ribbon around the hoop, so more than double the size of the hoop.
OUTER WOODEN EMBROIDERY HOOP
ADHESIVE - I decided to use double sided fabric fuse. This can be found in your local craft or sewing store. It is normally used for hems. It comes in a roll. One side is sticky and the other has a paper backing. *You could use a hot glue gun or fabric glue, as well.
Apply the sticky side of the fabric fuse to the outside of the hoop. When you have worked your way all the way around the hoop, trim the end. Remove the paper backing. Now you have a sticky surface that is perfect for tightly wrapping your ribbon.
The width of the tape was slightly bigger than the width of the hoop but the extra glue really helped keep the ribbon in place on the sides as well.
I used a hot glue gun to add a dab of glue to the top of the hoop to secure the top of the ribbon. I then began wrapping the ribbon tightly around the hoop securing it on the sticky tape and I worked my way around the hoop.
I chose to cover the metal part in this method. That is up to you! You can add the ribbon in a looser manner making a striped effect and even add a bow to the top on the screw part.
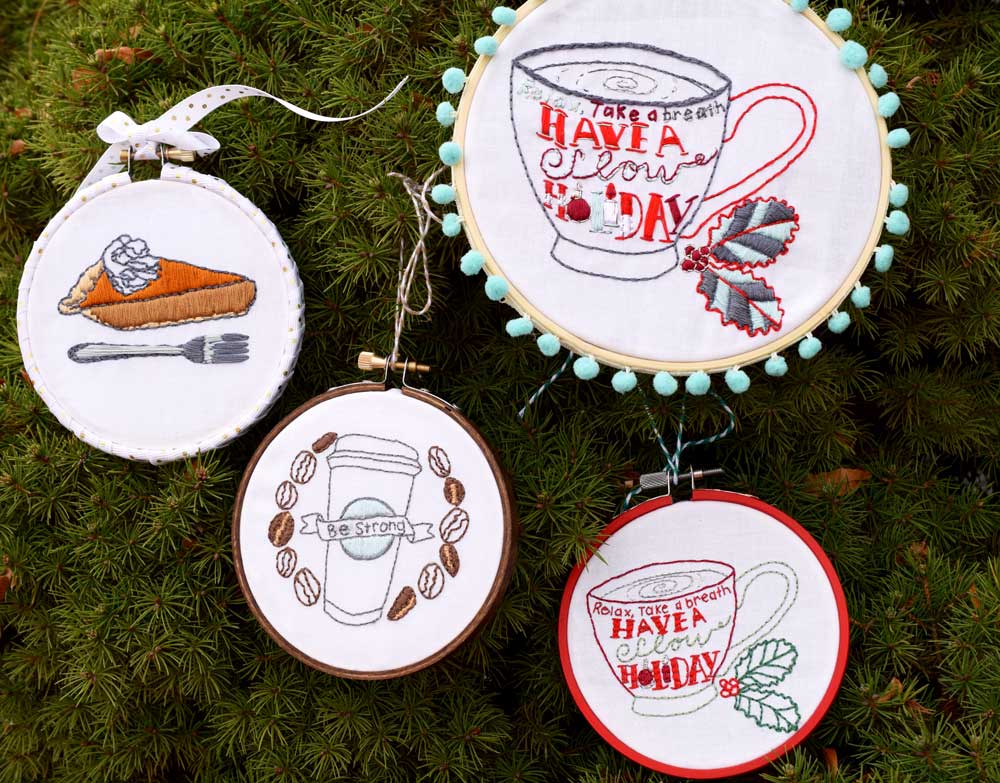
Here is how the hoops look finished with embroidery. It adds a nice variety and some added visual interest.
If you are interested in these patterns for the holidays please visit MY SHOP. They will be available as digital downloads in the coming week, just in time for the holidays!
Thanks for stopping by!
Warmly,
Pam

