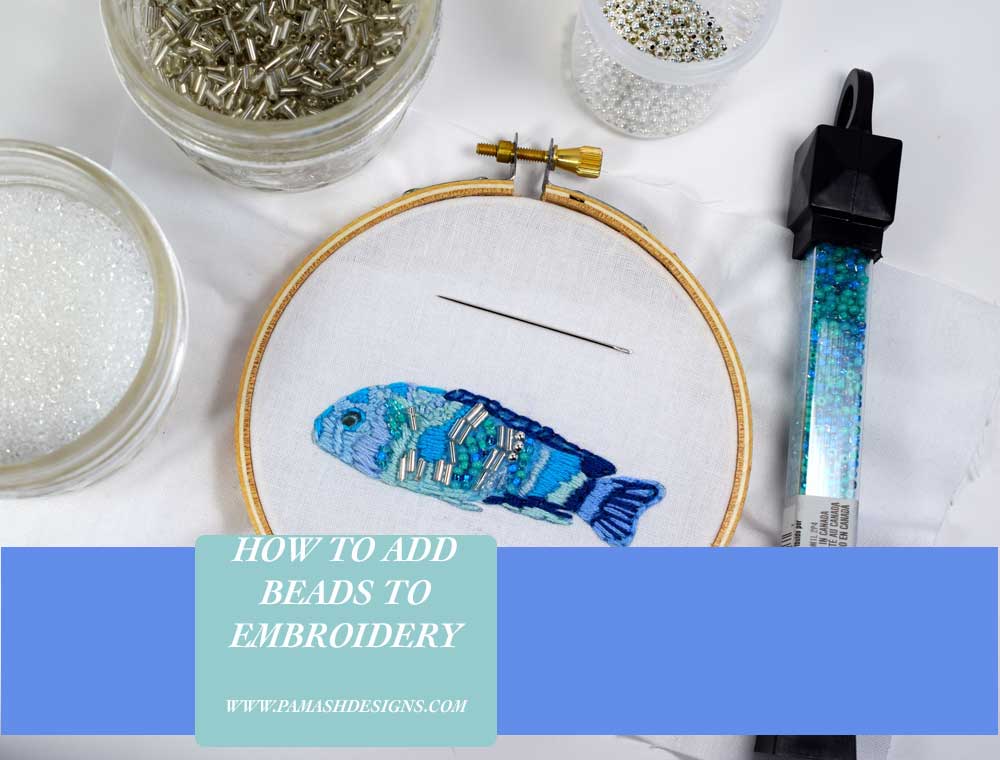
I love to add the sparkle and dimension to my embroidery. One way of doing this is by adding beads to your work. They come in so many varieties of colors, shapes and sizes and can really add that special something to your embroidery piece.
I have been adding beads to my embroidery for quite a while using quite a simple method but as I started researching the topic I found some extra tips along the way to share with you.
Let's get started with a simple tutorial, then we will apply it to some embroidery.
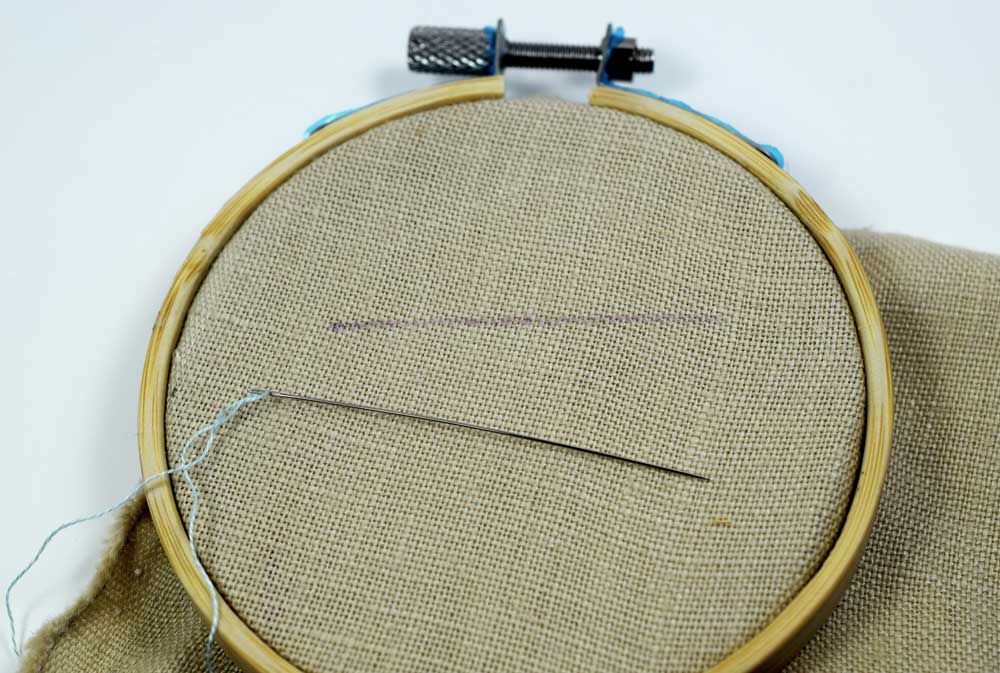
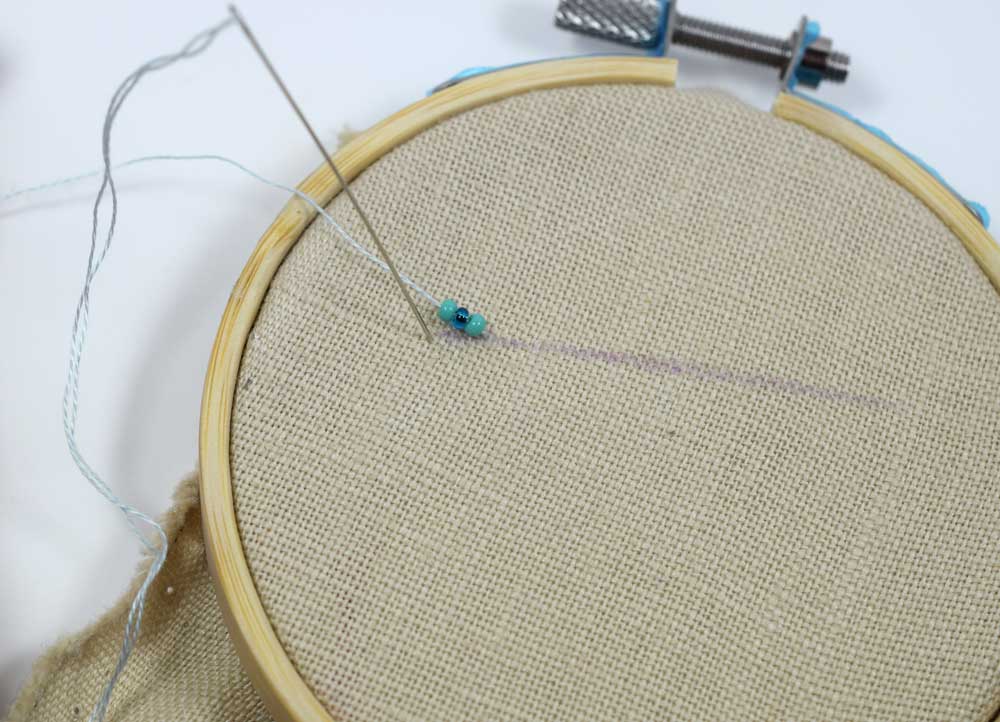
For this tutorial, I drew a straight line with my fabric marker. The needle I am using us a special beading needle. It is long and very skinny with a sharp end. It is quite fragile so it is meant for softer more delicate fabrics and small beads. One of the most important parts of picking the right needle is making sure the whole needle fits through the hole of the bead. The eye of the needle can sometimes be bigger than the shaft of the needle so I like to run the whole thing through a couple of the beads to see if the needle is small enough to make it through. Sometimes the holes in the beads vary in size as well so it is a good idea to run three or more of the beads you will be using over your needle to make sure it is a good fit.
Thread your needle. I used one piece of thread of the six stranded DMC embroidery thread. Make a couple of knots at the end of your thread. When you are using only one piece of thread it can sometimes take several knots to make it big enough not to run right through the fabric. The reason I am using only one thread is so that it is thin enough to slide through the bead holes, especially if you are using particularly small beads.
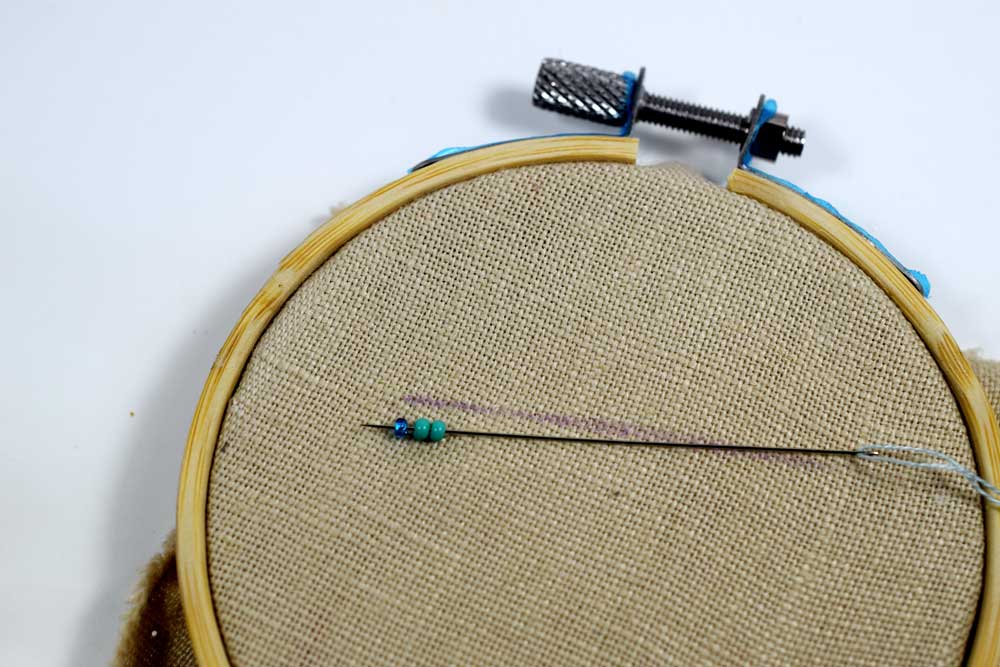
You will be using the BACKSTITCH concept here. Start by placing the beads next to the line to get an approximation of the length of the three beads. Once you have an idea of the basic length, take the beads off the needle and bring your needle up about the length of the beads you measured from the beginning of the line you made.
Pull the needle all the way through until the knot catches at the back then use your needle to pick up three beads.
Gently guide the beads all the way down the thread to where it meets the fabric.
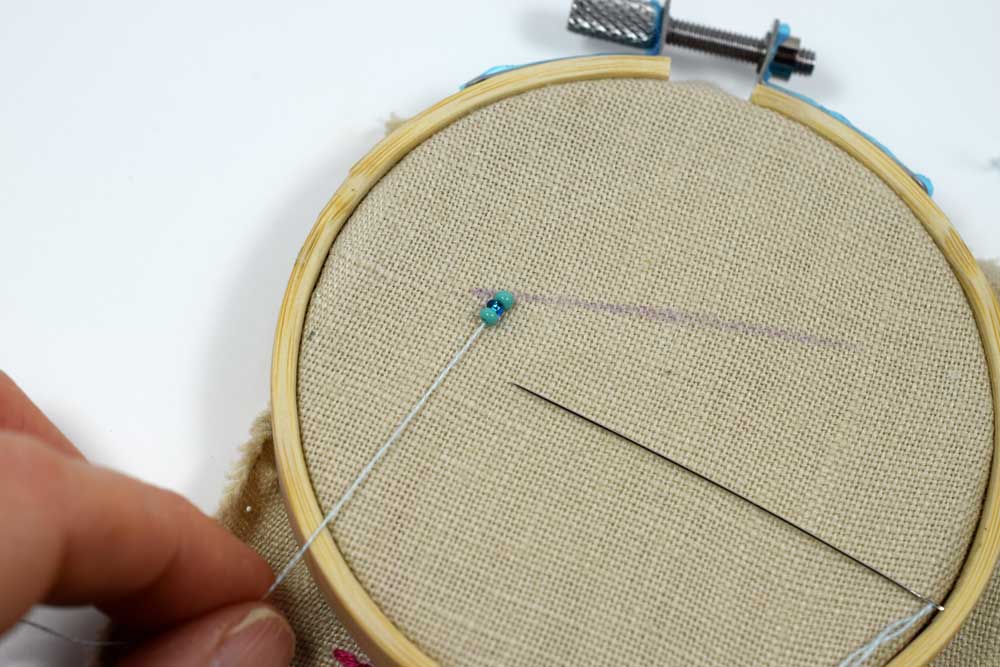
Bring the needle back down at the very beginning of the line (just like you do with the backstitch technique).
Now, bring your needle back up about the same length away as you did with the first stitch (the length of three beads.) Add the three beads again and bring the needle back down at the end of the first row of beads you made.
Adding the next three beads.....
Now putting the needle down at the end of the first bead row you made.
Here is what it looks like at this point. The needle is in the back and you have made two back stitches of three beads each. Now you are going to reinforce the first set of three beads by bringing the needle back up in front of the first row, sliding the needle through the first three beads, then bringing it back down.
Bringing the needle back up at the beginning of row of beads.
Sliding the needle through the first row of three beads.
Bringing the needle back down into the fabric after running it through the first three beads.
Bring your needle back up the same length away, once again.
Add the three beads again and bring your needle back down next to the beads already sewn.
Bring your needle back up right before the second set of three beads you made. Run the needle through the second set of three beads and then back down into the fabric.
Running the needle through the second set of three beads.
Keep repeating until you have finished the line and all the beads have been secured.
This is a great way of doing rows of beads and making sure they are secured on you fabric. I have been doing mine in a more simple manner. Being more freehand and intuitive in my work, I just sewed the beads one at a time and did not bother to reinforce them. It has worked out fine, especially if your piece is not going to sustain any wear and tear (like a wall hanging) vs. something you may put on clothing or a bag etc.
Here is how I do it:
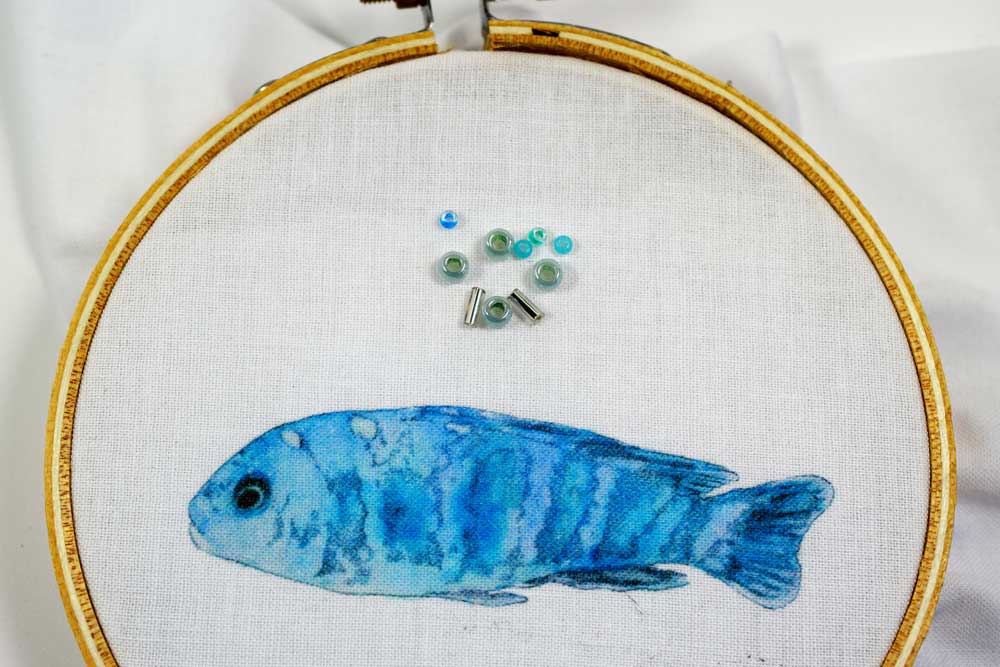
I have a framed piece of my watercolor art that has been printed on a piece of white fabric. I ironed on some interfacing to the back to stabilize the fabric and prevent the stitching from being seen in the front.
When choosing your beads, keep the color, size, and shape in mind. Since this is a small piece (it is in a 4 inch hoop just to give you an idea) I chose small delicate beads. I tried to choose some beads with sparkle since that is what the original fish really looked like. I chose colors that coordinated with the fish and underwater theme. I use my beading needles for these small delicate beads and the cotton fabric is nice and light. I used one strand of regular embroidery thread.
It is a good idea to hold up your beads to your project and see if they look good to you. Observe the size of the holes and the shapes. The fish has a striped appearance which gives me a good boundary to work within and a good starting place. Take some time to observe and visualize how you want your piece to look.
Here is a close up of the beading needles. size 10-13. Remember, the higher the size the thinner the needle so these are really skinny and therefore delicate. They get bent very easily if you are not careful.
If you want to experiment with other needles, try running them through several of the beads to make sure it is small enough.
Thread your needle with the single strand of thread, knot the other end, and bring the needle up where you would like to start.
Add a bead.
Bring the needle back down about the length of the bead. You can lay the bead down to get an idea of where the needle should go.
Plunge the needle back down into the fabric where you approximated it to go.
Close-up side shot.
Voila!
Bring the needle up away from the bead you just sewed.
This time I add a couple of beads to make a little row.
Lay it down with your finger to estimate where to put down you needle.
Now put the needle back down as close to the beads as possible.
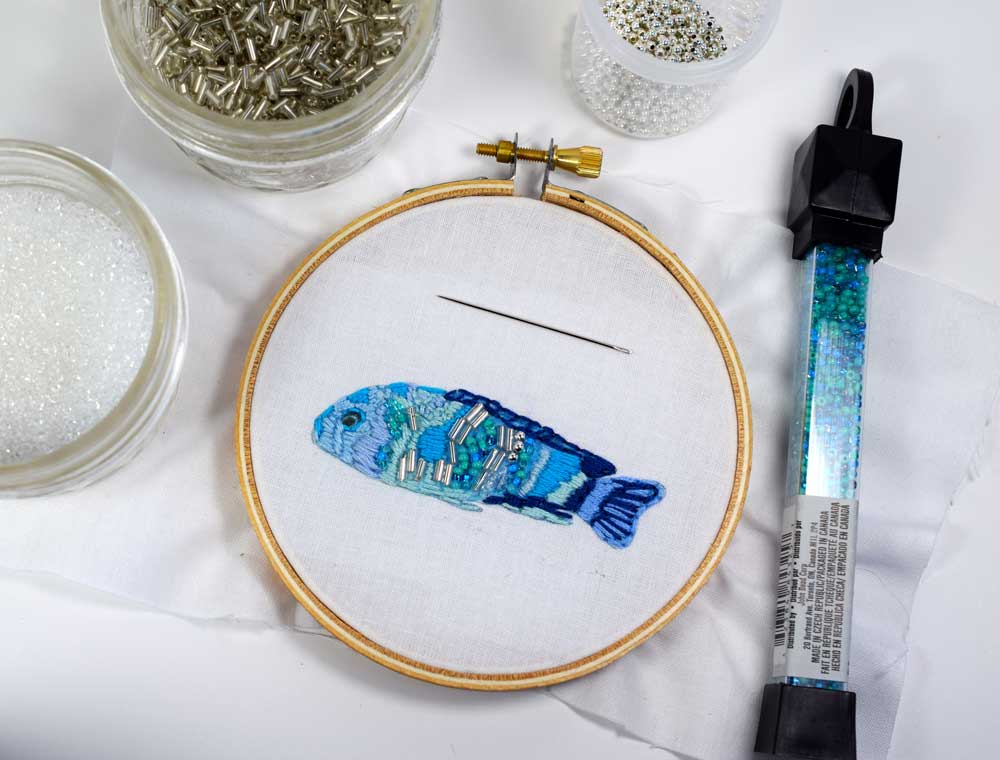
I am using the stripes on the fish as my guide and alternating the small round beads with the longer tube-like beads.
It is aways a good idea to take a step back from you project to try to figure out your next move. Another great tip (and this works for painting too) is to take a photo. For some reason this gives you a new perspective. Take breaks, walk away for a while and come back.
I combined some SATIN STITCH to the and BACKSTITCH to the rest of the fish to add different texture and color to complement the bead work. I just love the sparkle and texture the different beads add to the piece!
Give it a try! Very fun (in much the same way coloring can be). Hand stitching is a great form of relaxation and very therapeutic. Something we could all use a little more of these days.
Thanks for stopping by.
Warmly,
Pam

