We are huge bath fizzie fans in this house. It was one of the very first beauty products I made and have been hooked ever since. Some of the store bought ones we tried would have really cool special effects, such as color surprises in the middle of the fizzie, so we adapted the surprise concept to include a hidden toy inside. I have given these to both adults and children and everyone was equally delighted by both the bath fizzie and the toy. Most of us love a good natured surprise. There is something about anticipating the unknown that makes the reveal that much more exciting! Let's get started.
Get out your soap molds, if you have them. If you don't have any you could use an ice cube tray, cookie cutters, or candy molds.
Get out a nice big glass mixing bowl. Add one cup of baking soda.
Next add 1/2 cup of Epsom salt.
Add 1/2 cup citric acid.
In a separate bowl melt 2 Tablespoons of coconut oil. (I microwaved mine at 30 second intervals. An alternative to microwaving would be to melt it over a double boiler.)
This is the melted coconut oil. It should be in liquid form.
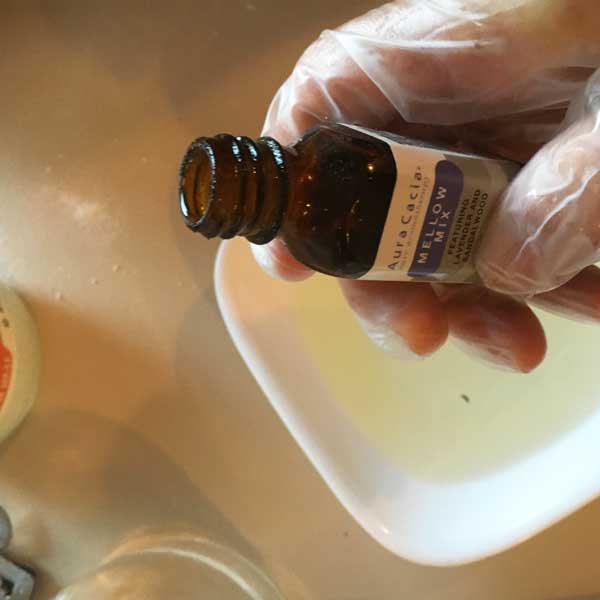
Now add essential oil of your choice. I added a lavender and sandalwood blend (about 20 drops). You can use your favorite oil (Rose is wonderful, just plain lavender or whatever appeals to you.)
I added added blue food coloring. I love the way it makes the bathwater a subtle shade of blue. You can skip this part if you do not like using food coloring. It doesn't mix well with the oil but once you mix the wet and dry and mix it all together it will be just fine.
You will want some gloves for this next part. Mix your wet into the dry and use your hands to combine. You are looking for a texture that is crumbly but clumps together when squeezed in your hand. Resist the urge to over wet. If it needs more moisture (it is not clumping together) use a spray bottle of witch hazel and gently spritz once or twice, just until mixture clumps.
Prepare molds by adding stars or lavender buds. I really love these confection stars. They are found in the sprinkle section of your grocery store. They do not melt or bleed color in the tub but instead they float making a really nice effect (especially with the blue food coloring).
Fill your mold about half way. Add a little trinket. I have used tiny shells, little rubber animals, and mini-dice. Think waterproof and tiny. After adding your trinket, fill the rest of the mold until the toy is buried inside.
You can pick a theme. I chose ocean.
Let them dry in the molds for a few hours (or overnight if you are in a humid climate.) Once they have hardened, pop them out of the mold. To store, I wrap them in saran wrap. They are best used fresh (they will bubble more when fresh and the oils are more fragrant). Warn your recipient of the the "surprise" inside, especially it it is a child:) The coconut oil can make the tub a little slippery so be careful. It also makes your skin soft and the salts relax the muscles. The total aesthetic experience is what I love about these! The relaxing blue waters and floaty stars make it so special.
Isn't that fun?
These could also be adapted for the holidays. How about green food color with red stars and a reindeer inside?
These could be wonderful favor ideas too. What about a baby shower with a pink or blue toy in the middle for a gender reveal? Shower favors, kid party favors, birthday presents...so much fun!
If you liked this recipe and want to see more, I have a new digital ebook available HERE on the home page. It has 30 wonderful recipes for natural beauty products that have been lovingly hand illustrated. They are some of my very favorite recipes! There are lots of practical tips and tricks for making your own products at home.
Hope you have as much fun making these as you do trying them!
Thanks for stopping by.
Warmly,
Pam


